Kaleidoscope for Iray [Commercial]
 Marshian
Posts: 1,465
Time to play! kaleidoscope-for-iray
This set is a collection of mirrored props that multiply objects to create beautiful patterns and expansive scenes. Go beyond the limits of real Kaleidoscopes by putting figures, objects and whole environments inside the prop. You'll be able to create drops, tunnels, streets, and hallways that multiply, seemingly going on and on. Even though your scene inside Kaleidoscope may be small, atmospheric props (not included) continue to build up haze as the reflections multiply. There are 31 materials included spanning a wide variety of effects, colors, utilities, and emissive properties.
I would normally post a link to the ReadME here but have included tips and tricks within the promos and on the store page.
I'll post some promos that didn't make it to the store page, answer any questions, and hope to see some of your renders if you feel inspired to share.


Comments
A 3-sided set multiplied.
Change the configuration (the GIS hangar is normally like a straight tunnel)
Bridge extension. Notice here that you cannot hide figures/objects from being reflected except to hide them behind other props. In this image, on closer examination, you can see the figures reflections. Use the AuxView Port to help move things around until they are hidden.
Really cool man. Very cleaver idea, had no idea you made a 3DL one some years ago. As for the figure, render one image with the figure and what it is standing on and then another with the reflection prop without the figure and merge the two in post.
Thank You Szark! I had been tinkering with this trying for a while to solve a couple of problems, finally got it. A nice and simple idea on doing two renders, it would be a very easy edit in photoshop or similar.
Hi, i do not understand how to use them to get such results as shown above.
The props are too small for including a scene and i have no idea how to create good scenes with them.
See images: i only get those results.
By the way: in the 3DL version there was a shader included to preserve objects from beeing mirrored.
I wished there would be a tutorial how to use these props correct.
how can i mirror a large room or making an image with the bridge as you showed above?
i haven't by far grasped all the virtually endless possibilities of this innovative & awesome product, just fumbled with it a bit with a person's reflection & haze (makes it to a dream world kinda - but i love it!
excellent, @Marshian !
Hi Lonesome Cowboy I'm happy to assist. Here's a screencap of the bridge scene including camera placement. You'll need to scale one of the 4 sided props to fit your scene and use the KALi Gradient Top preset to give the prop a soft top edge. This preset will eliminate the sharp top edge on the props. Check out the promos, there are a couple that use this effect. As far as keeping an object from being mirrored see the two posts above yours and this post here: https://www.daz3d.com/forums/discussion/comment/4394701/#Comment_4394701
I feel you'll get the hang of this quickly. Experiment some more and make sure to use the AuxViewPort tab to check results.
Let me know if you have more questions or get stuck.
ok. Tthanks for trying help. I added the Kali Gradient Top.
There are still a few problems. See attached graphics:
1. have i to be in the prop or outside or in the middle?
2. how can i avoid seeing the borders of the cube?
3. it seems no matter how far or near the wall of the border "cuts" the bridge - there is always a break in the bridge. I want to see a long bridgeway. How can i do this?
Thanks
I really love the possibilities of this. I did have a few questions though after playing with it:
1) I had some of the same problems noted by Lonsesome Cowboy with the silver squares. I ended up basically avoiding anything that looked up to avoid them. Hence why I added the marbel tiling to give it something other than the environment floor.
2) I tried to get the floor to make it look like the bookshelves were doing down, but I could only get props to go back in perspective like you see here. I loved the promo that had the books in the square going down, but wasn't sure how you got that effect since the bottom doesn't have geometry.
Jason
I might get that later tonight when more funds come in. I assume that the 3DLight version does not work with iray?
so basically, the pdf for the 3DL version (which i didn't even know existed...) covers this one as well (i couldn't find docu for the iray version) - with exception of the 3DL only "not reflecting objects" possibility of course - but for maybe the particular shaders, right? i hope so since what causes me way more brain fuming is how to pose objects inside which kaleidoscope prop, where to cut the scene with the prop etc, and the thing with the sky, not so much the shaders, this'll come later. because i see that without some concrete examples, i'm just going to tap in the dark not knowing what i'm doing. i managed to get a passable scene with some houses + trees, looks like a village, but it's totally random, try/fail, no idea how i came to this and i couldn't reproduce it... point being, i can't create yet anything intentional, stuff just happens. hence a need for docu ^^
Well there is some commonalities with the 3DL version, the instructions. There's potentially three places to put instructions: the promos, the store page, and the ReadMe (which I keep hearing people don't see). so I chose the promos and the store page, which has concrete examples. Let me know of there's a specific effect or promo your trying to achieve and I'll assist. I'll post screen captures of the working view to help with set up. Beyond this offer, it's going to require some experimentation: https://www.daz3d.com/forums/discussion/10835/somethings-to-consider-when-starting-to-learn-cg/p1
I'm standing by and will be watching this thread.
i searched/found this pdf of the old version because i couldn't make much sense of the promos/store page.. the pdf examples are a bit more explicative as to placement of objects.
i'll drop a line here when i'm stuck on a particular project ^^ - thank you
btw, before i read the bit about the sky here + pdf, in my scene i just made the K prop's top visible and stuck the texture of the skydome on it - with re-tiling + offset i managed sth passable...
I overlooked this the first night it came out. Eventually I clicked on it out of curiosity and now I am SO GLAD I gave it another look and picked it up - WOW! I have to admit I feel like I could benefit from more in-depth instructions as I don't have time to endlessly fiddle about hoping for something interesting. Looking hard at the promo images and notes I was able to come up with this image and am well pleased with it, but it is a very early attempt at something. Now I am intrigued to spend more time with Kaleidoscope for Iray. BRAVO!

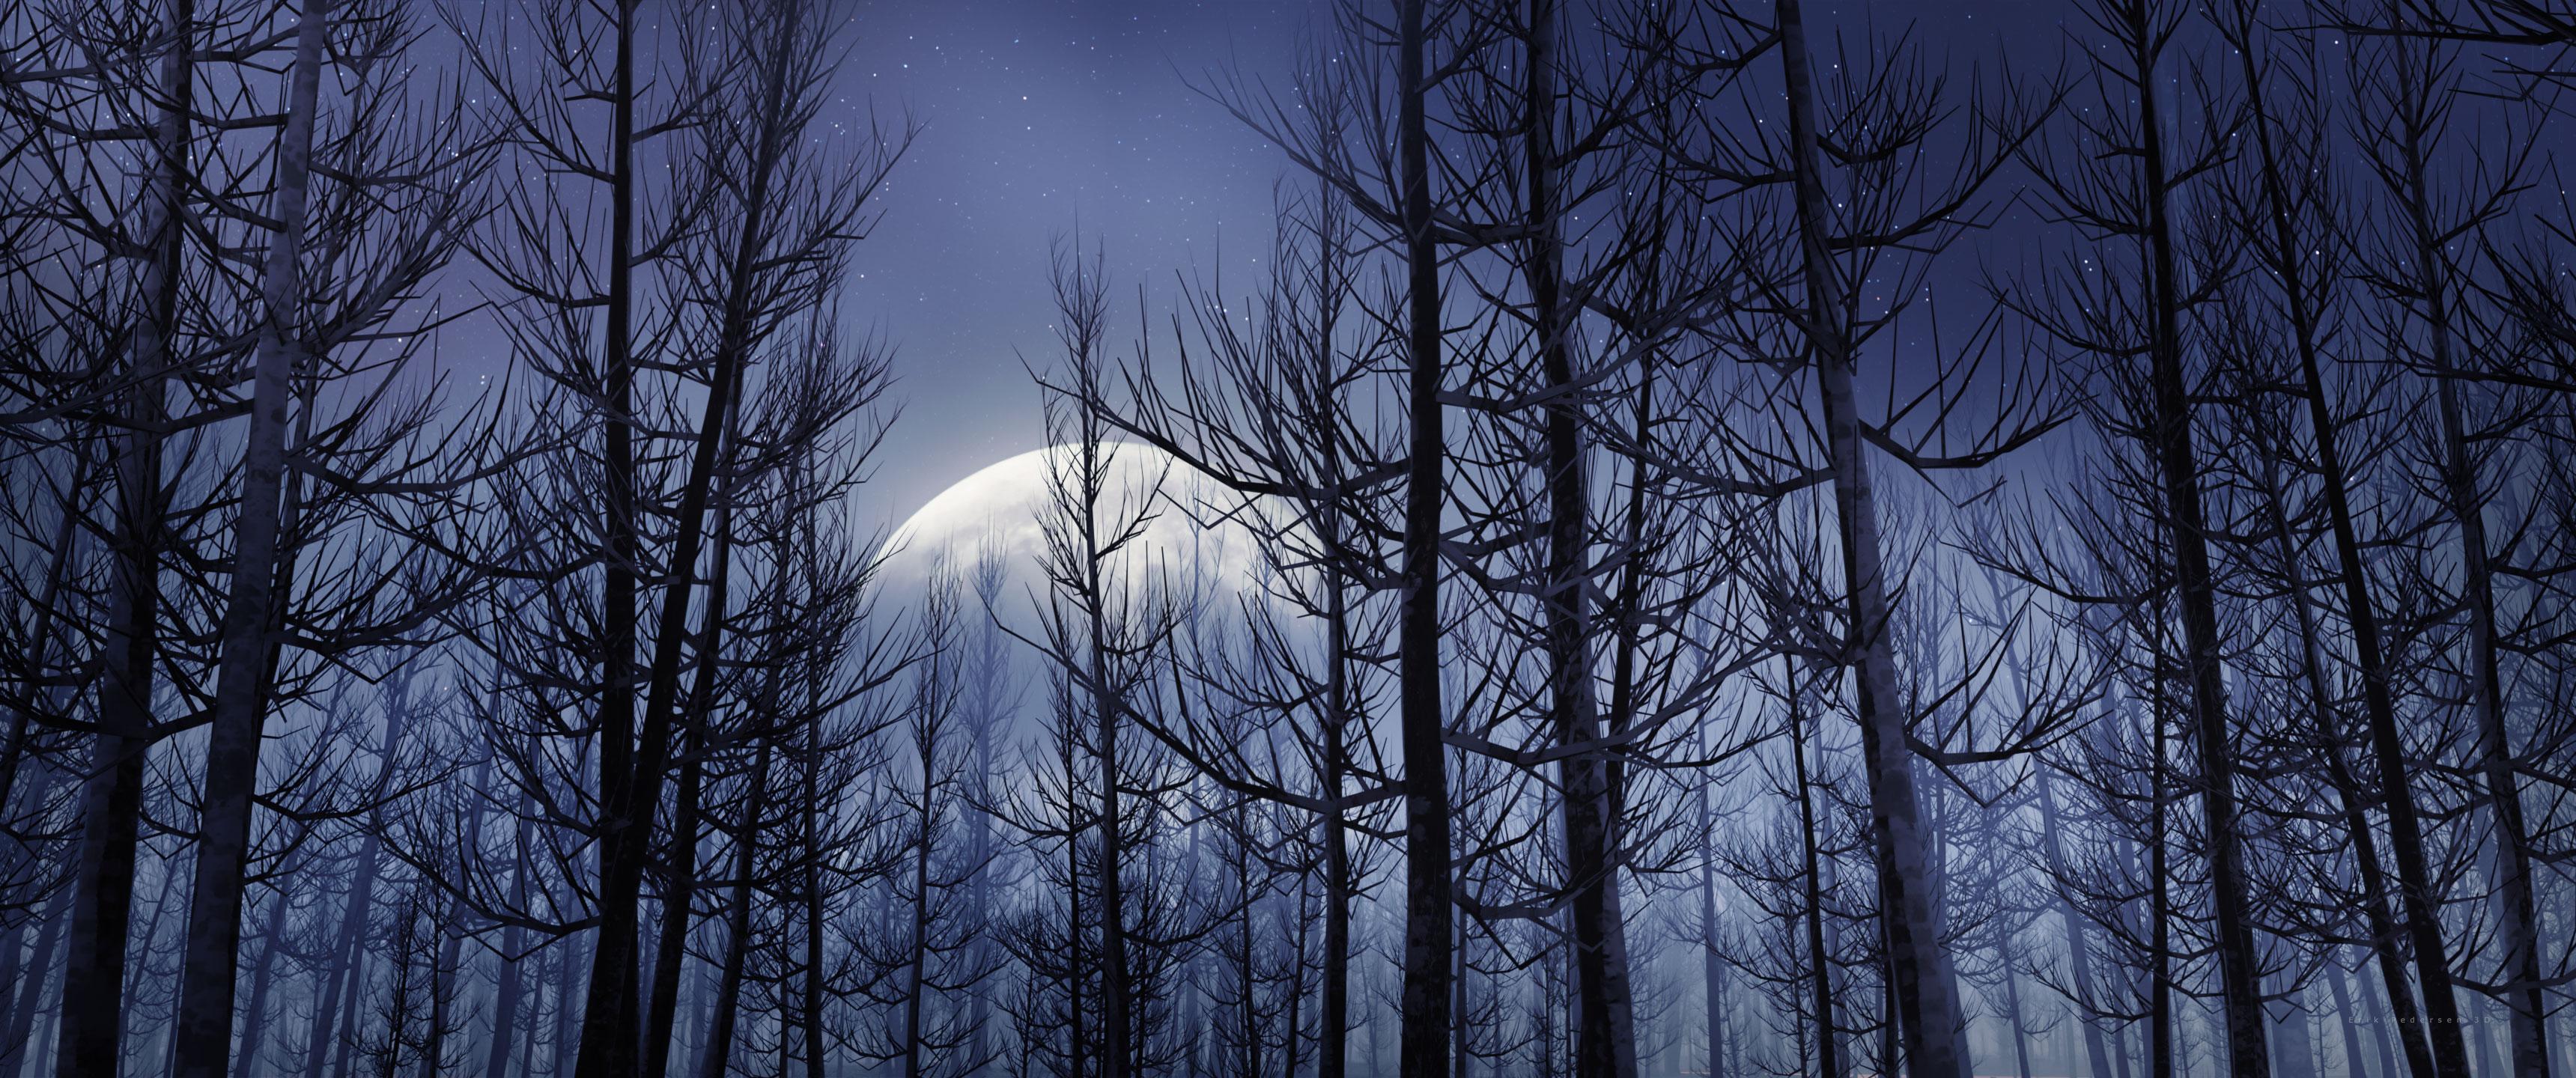
Started with Winter Pine Forest Prop Set and arrived here:
Yep, I was stretching the K-Prop on both the X and Y and everything changed for the better after that! I'm using Orestes Iray HDRI Skydomes - Fantasy Moon and was surprised at how well it worked. I can't wait to get to the long space station corridors like in the promos - and that library scene is to die for! WOOHOO!! Fun! This one product will add SO MUCH diversity to my images that I produce each month.
This one is amazing.
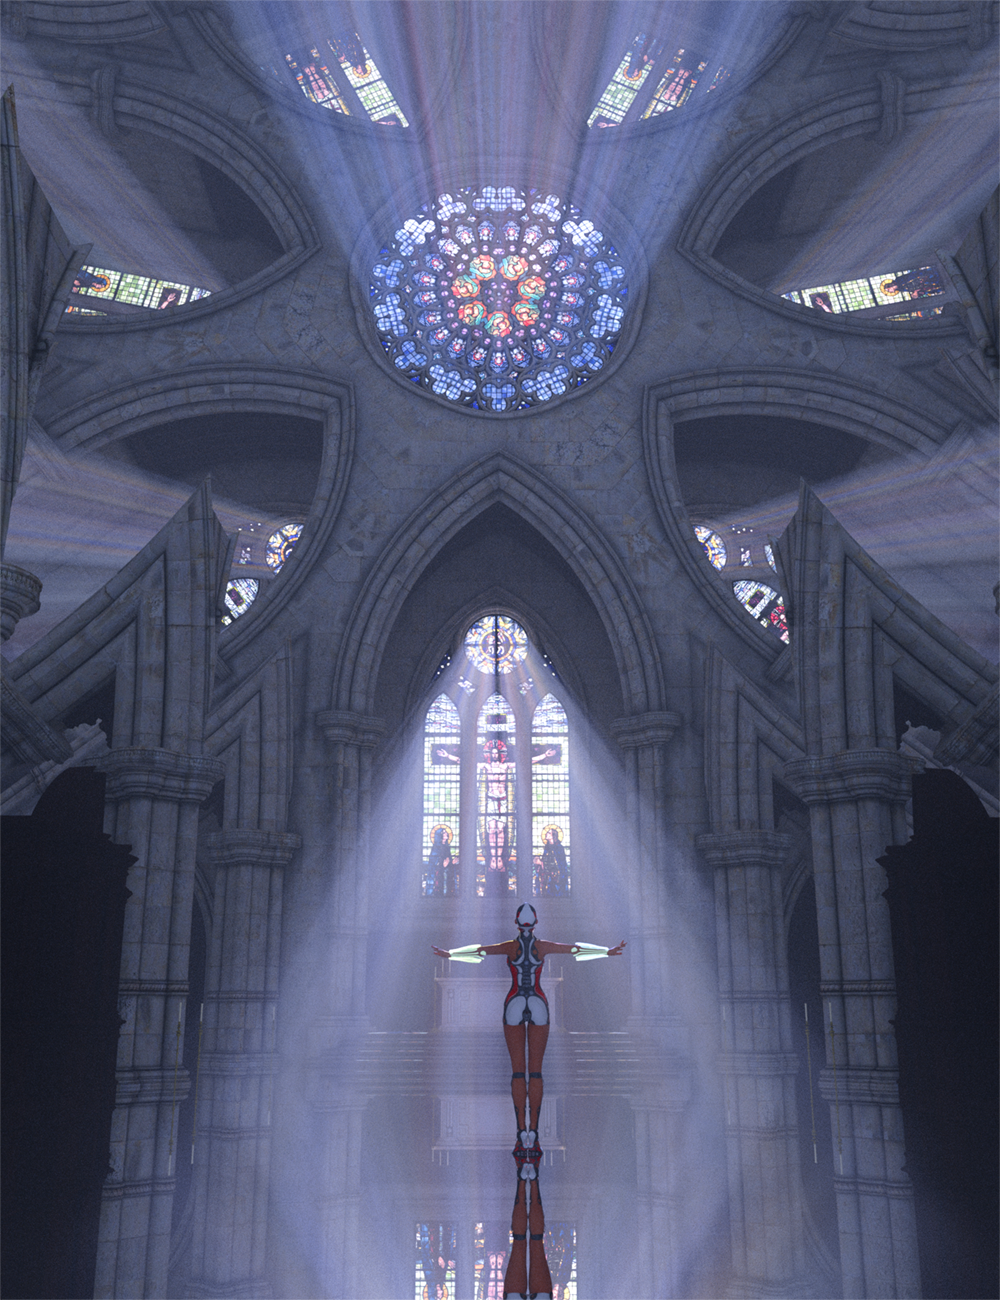
My first experiment with K-scope was with Cista Sanctus. I wanted an infinite set of collumns, and failed. What I did get was a kind of courtyard beyond the main architecture that I loved. So then I had to evolve the image, and this is what I got. It grew naturally from my original mistake, and I'm very happy with the result. Love the product, pure and simple.
beautiful! *hands clapping*
Aw, thanks manekiNeko!
i ended up rendering this village scene i mentioned before above... somehow, the result is totally different from all those kaleidoscope renders i've seen. guess i don't quite have grasped the gist of it, lol. anyways, guess it's a start ~
Looks like you have SOMETHING working though.
I imagine we will get better as we use it more. Also, a thread like this can become invaluable in sharing tricks and techniques as we all learn!
lol.. yeah, "something" is a good expression XD. i tend to try out stuff and ignore basics/tutorials, because playing with the products is more fun - but this time i think i won't get away with it, and i WILL have to examine some materials/examples and try by the book first ^^
I checked for a manual but couldn't find anything more than the clues in some of the promo images. Thankfully those were enough to get me to start 'thinking right' and then stuff just started happening. LOL
What does the kali surface hide/show shader do?
The solution in this particulr case is rather old-school: Render the scene without the person on the bridge, then to a spot render of the guy and blend together in a image editor.