Atmocam2 [Commercial]
 Marshian
Posts: 1,465
We're proud to announce today's release of Atmocam2
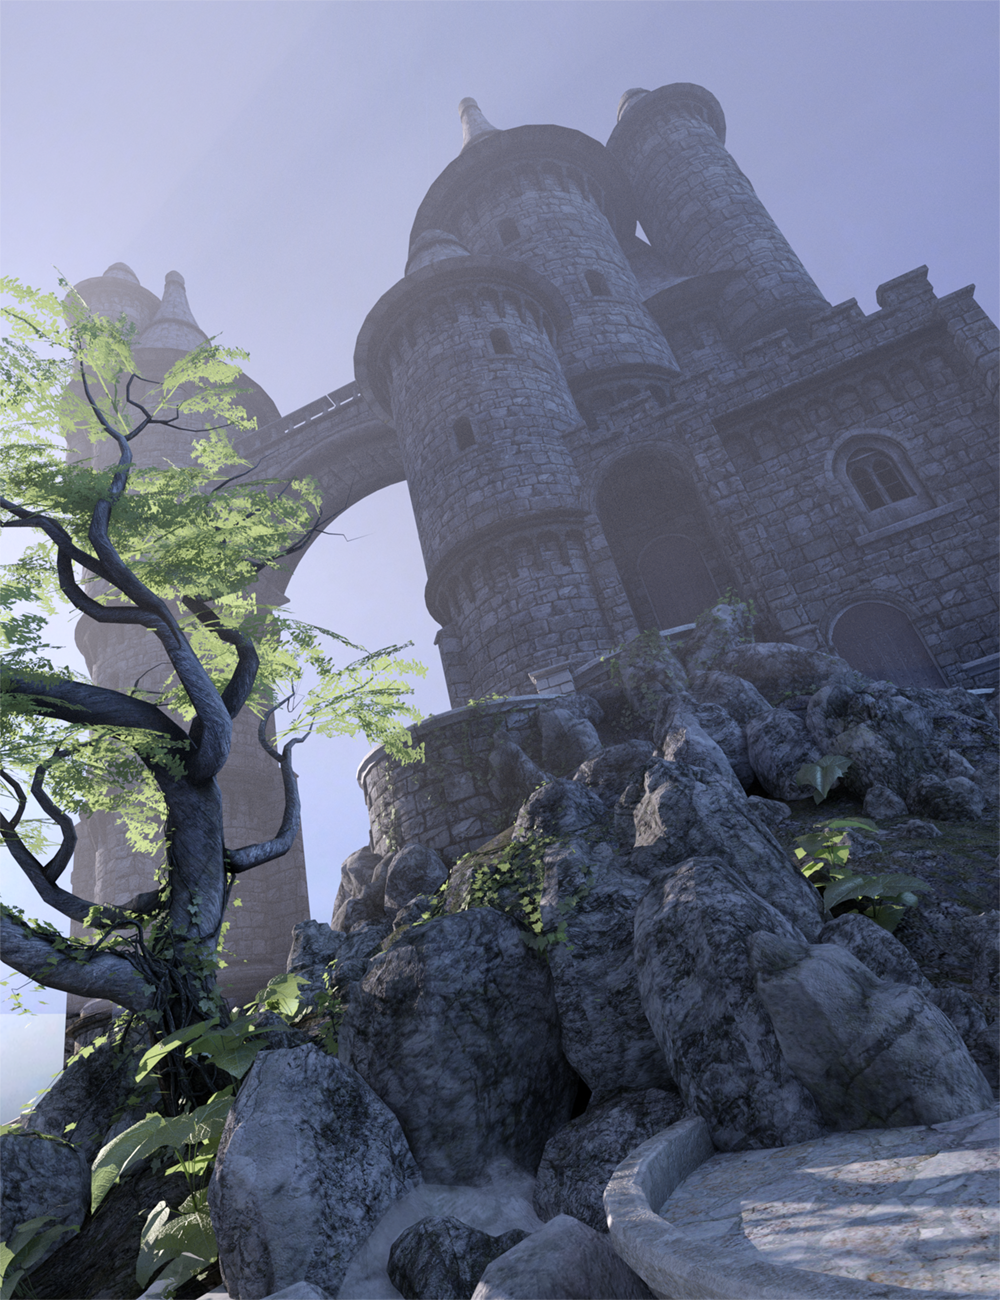
Achieve depth, haze, fog, divine rays of light, supernatural moods, alien atmospheres, and several weather conditions with this prop-based set. Included are 12 colors, 6 density levels, and 10 texture effects. This new version of the Atmocam has updated material settings and is much easier to use (scale, adjust density, etc.)
Please post any questions here and renders if you feel inspired. SO many promos were created for this set, too many to include on the store page. Here are a few of them. Let me know if you have questions about any of them, if you want to reproduce any of the effects, I'm happy to share details.
As far as general instructions go we have included them in the promos and the store page.


Comments
It looks great!
Is this a more advanced version of Plane Easy Atmospheres?
I'd be interested in knowing a bit about how you set up the second to last promo in the store, the one with the top-down view of the city. This is an effect I've tried to get with AtmoCam and Fog Camera with mixed results, though I think that has come down to lighting having too much ambient light in many cases. Is this a distant light, or can you get this effect with the sun/sky light?
Hi AlmightyQUEST. The environment mode is dome/scene with no other lighting. Attached below are the specifics. The rest of the set up is scaling the prop. Let me know how this goes for you or if you have more questions. Edit/Add: I've also attached a wide angle render of the Atmocam2 prop with City. Note the ground is black, this helps cut down on ambient light, keeps the rays sharper.
Thanks DoctorJellybean! I would say so since it can render volumetrics and is not tied to a specific camera angle. I mean there's quite a bit more realism, functionality and different features. Plane Easy Atmospheres was meant to render some similar effects and have a shorter render time but is just a flat plane VS a 3D object in Atmocam2.
Thanks for that, based on what you said I picked this up, and my first test was similar to what you showed here, and a lot more like what I was hoping to get than some of my attempts with some of the earlier products. And the tip about setting the ground to black helped, it seems obvious now that you explained it . I only had time for a few quick tests, but hope to have a proper render in the next few days. It rendered quicker than I expected too, which is nice!
Just bought this and can't wait to put it to use!
This was still just a test, now I will need to come up with some proper scenes that have a high, top down city view as an excuse to use this more . I just want to stress how easy and quick this was to set up and tweak to get the look I wanted.
Click for full size.
Just picked up Atmocam2, and would like to know how you created the God Rays here, and the multiple ones in your promo with Sacrament. Do you recommend that the spotlight be positioned inside the Volume, or behind it? Also, when you refer to scaling, is it meant for the Volume, or the Border group? Thanks!
Hi dawnblade. For both of those promos the Atmocam2 prop was scaled just a bit larger than the main scene area and the spotlight (geometry set to point) was just outside the Atmocam sphere. The actual rays are solely from the sharp light passing through leaves or the window (for Sacrament). I'm rendering right now so I cant open up these scenes and confirm this but my memory is that to get sharp clear rays that fan out the light needs to be fairly close with a wide spread angle. Keeping the atmocam prop fairly small and the light outside it means that the light isnt diffused before it hits objects making the rays. Make sense?
The volume and the red rig/border group are parented so they scale together, yes it is meant for the volume when I mentioned scaling.
The color in the rays for the Sacrament promo is kind of complicated to get but the sharpness can be achieved pretty easily.
Let me know if you have more questions.
Hi Marshian,
I have a question about Atmocam2. In the promo picture with the sphynx, you used two atmocam props and said they can't touch each other or the effects won't render. Then, in the picture with the gazebo you used three props, one for fog, one for mountains, and one for trees. Aren't the three props touching each other, yet they still rendered?
Thanks, Doug J.
Hi dougj. That's a good question and I'm happy to shed some light on it. When the Atmocam props tough each other the volumetric fog/haze effects do not render but the images applied to the sphere still do. So in that gazebo promo, you'll see that the density for all 3 Spheres is at 0%. Let me know if you have more questions. I see that I could have been clearer on my instructions on the Egyptian promo page.
Really enjoying the effects!
Awesome! You've shown how the sun can shine through and still light the scene.Thanks for posting Oso3D
Thanks for the info, Marshian. Here is a quick test with Chapter House. I used your render settings, scaled the prop, and used one spotlight outside the window, and I got rays coming through the window! I only got light with just the spotlight and no prop, but after I added Atmocam2 the rays were visible.
One approach that might help with getting crisp godrays is to do two renders, one with a tight light source and atmocam volume, and a second with more diffuse natural light and volume switched off.
You can then blend the two renders as desired.
More work, but more control, and atmocam2 provides the tools you need.
The images look very good, but I don't know just how different this is from the previous atmocam. I mean, asides from the backgrounds, what new things does this bring to the table? Is it faster, does it produce crisper rays, a better sense of depth? I just can't quite figure it out, so I would appreciate any clarification before buying.
Hi Uthgard. It looks like you are familiar with the original product so that gives you a basis for comparison. All of the major differences and added features are listed and briefly explained in the promos and on the store page. The focus was on making the product much easier to use, refine similar effects, and add several new ones. My goal was to update it for artists that have the old product and introduce some exciting effects to artists who are new to DAZ Studio or didn't purchase the previous version.
I REALLY like Forest setting to flesh out/backup other stuff, like https://www.daz3d.com/ancient-mystical-forest
Oh yes, I remember that set. That is a great match.
To whit:
Nice!
This jumped right in my cart ;)
Laurie
I knocked up this after a fait bit of faffing around with densities and lighting, finally endded up with just one linear point light.
Excellent images, everyone. It looks like a must have product.
Oso, probably a dumb question, but I'm just starting to play with Atmocam2. What do you mean by "volume switched off"? How do I do that?
Just hide the object creating haze or fog. :)