How to make the bones following a morph
 crazelman
Posts: 18
crazelman
Posts: 18
Hi everyone,
There is my problem: I make a Toolbox and rigged it then i make a morph but when i use the morph dial the bones of the rigged part dont follow the morph and that totally mess up the result of the bones dials.
I explain how i proceed to show the problem:
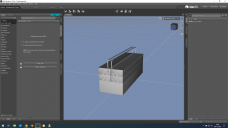
There is the toolbox:
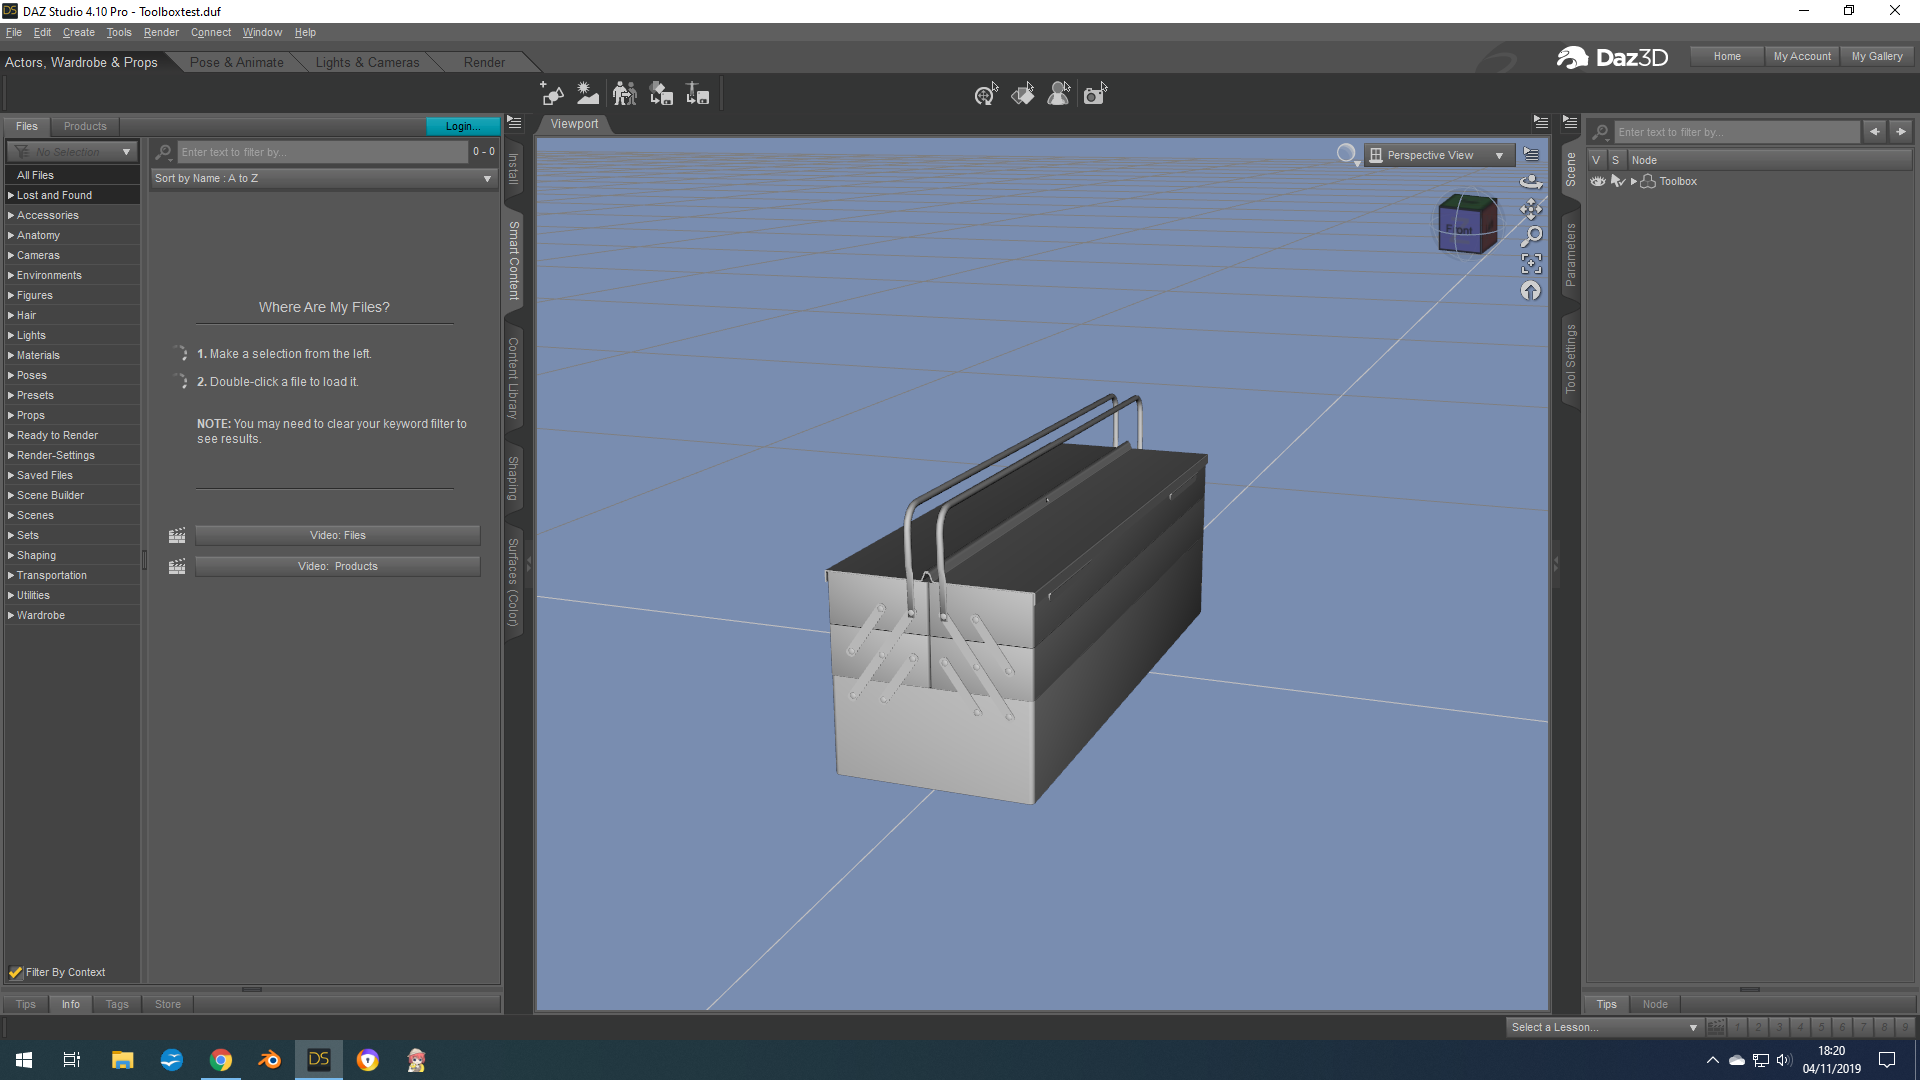
I wanted to have the possibility of opening the two top doors and move the handlebars so i rigged the prop by following this tutorial https://www.daz3d.com/forums/discussion/156776/how-to-rig-a-prop-cabinet-doors
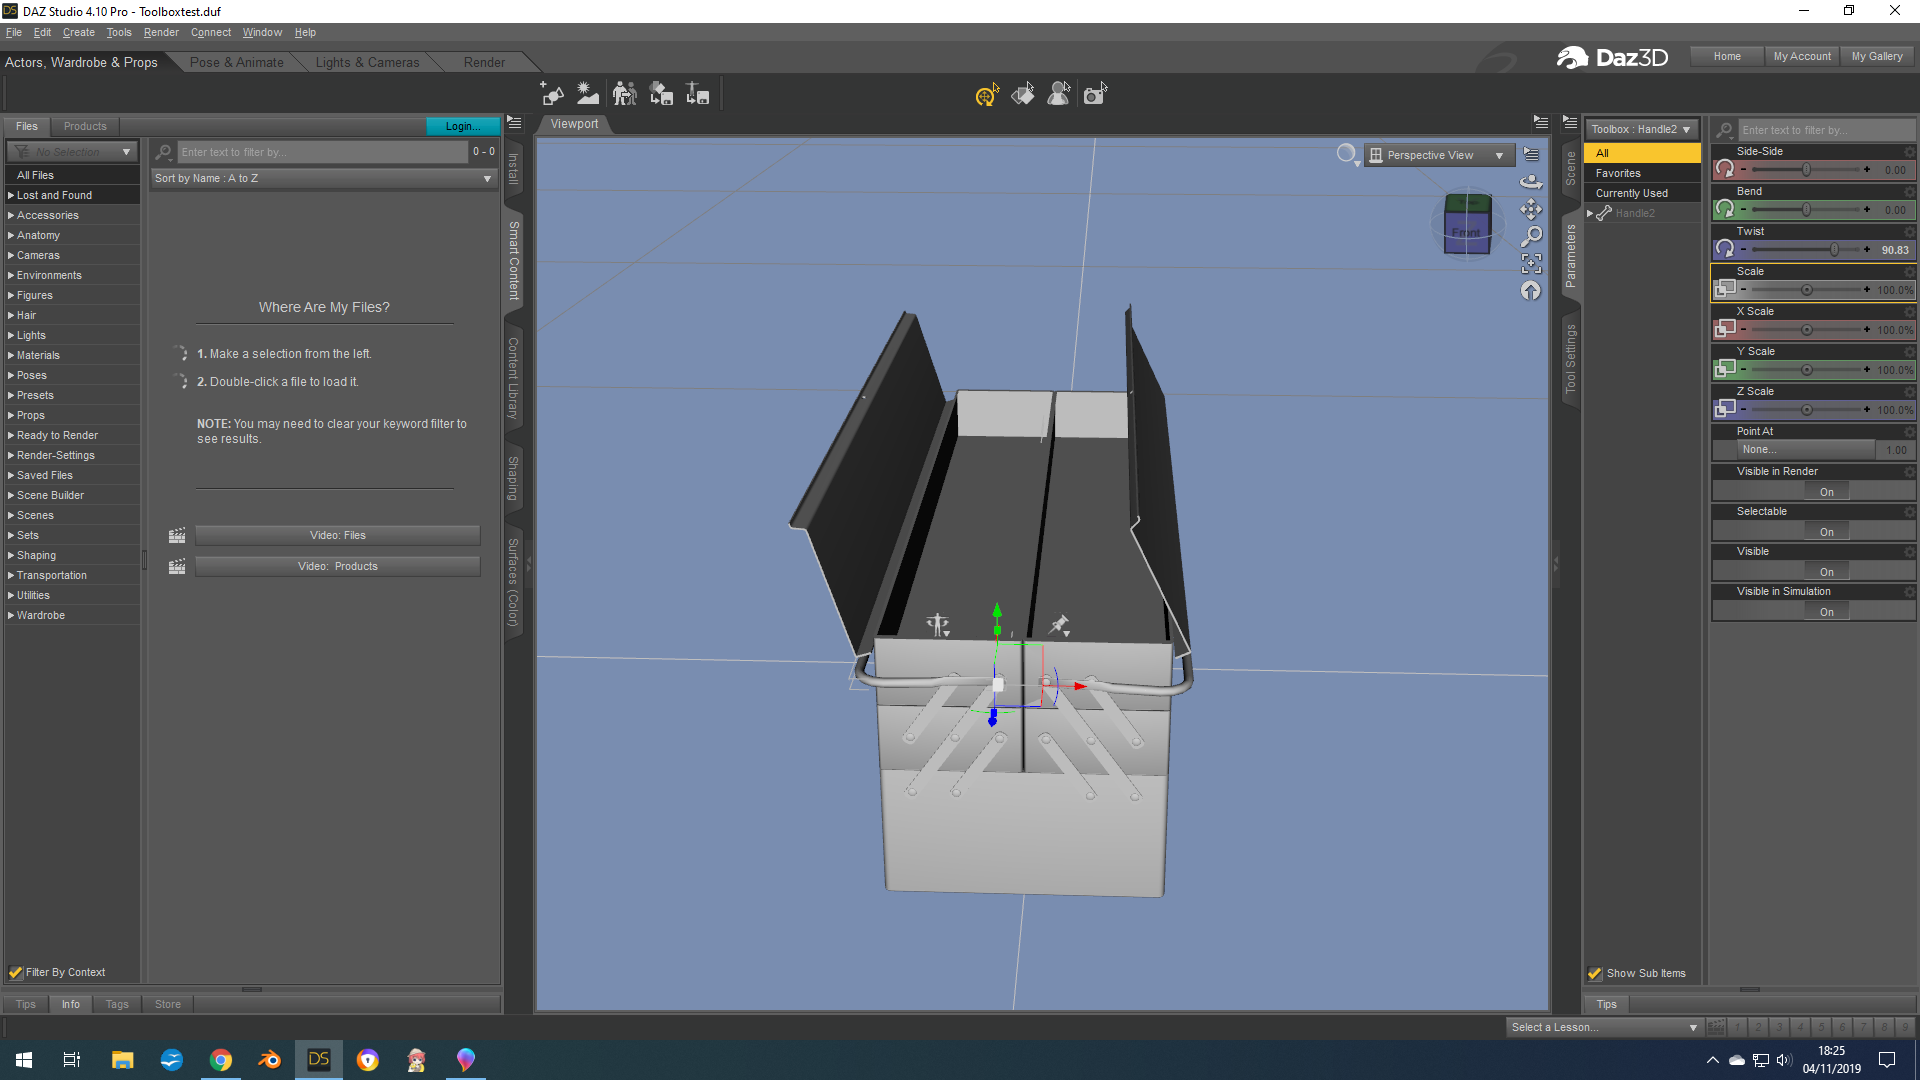
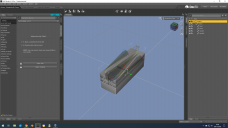
and here the result with bones

When i use the twist dial of each bones i have the desired result, i can open the doors and move the handles:
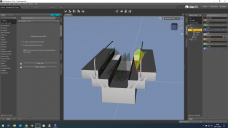
After that i create a morph to open the rest of the toolbox by following this tutorial https://www.versluis.com/2018/01/how-to-create-daz-character-morphs-with-blender/
And i have the desired result :
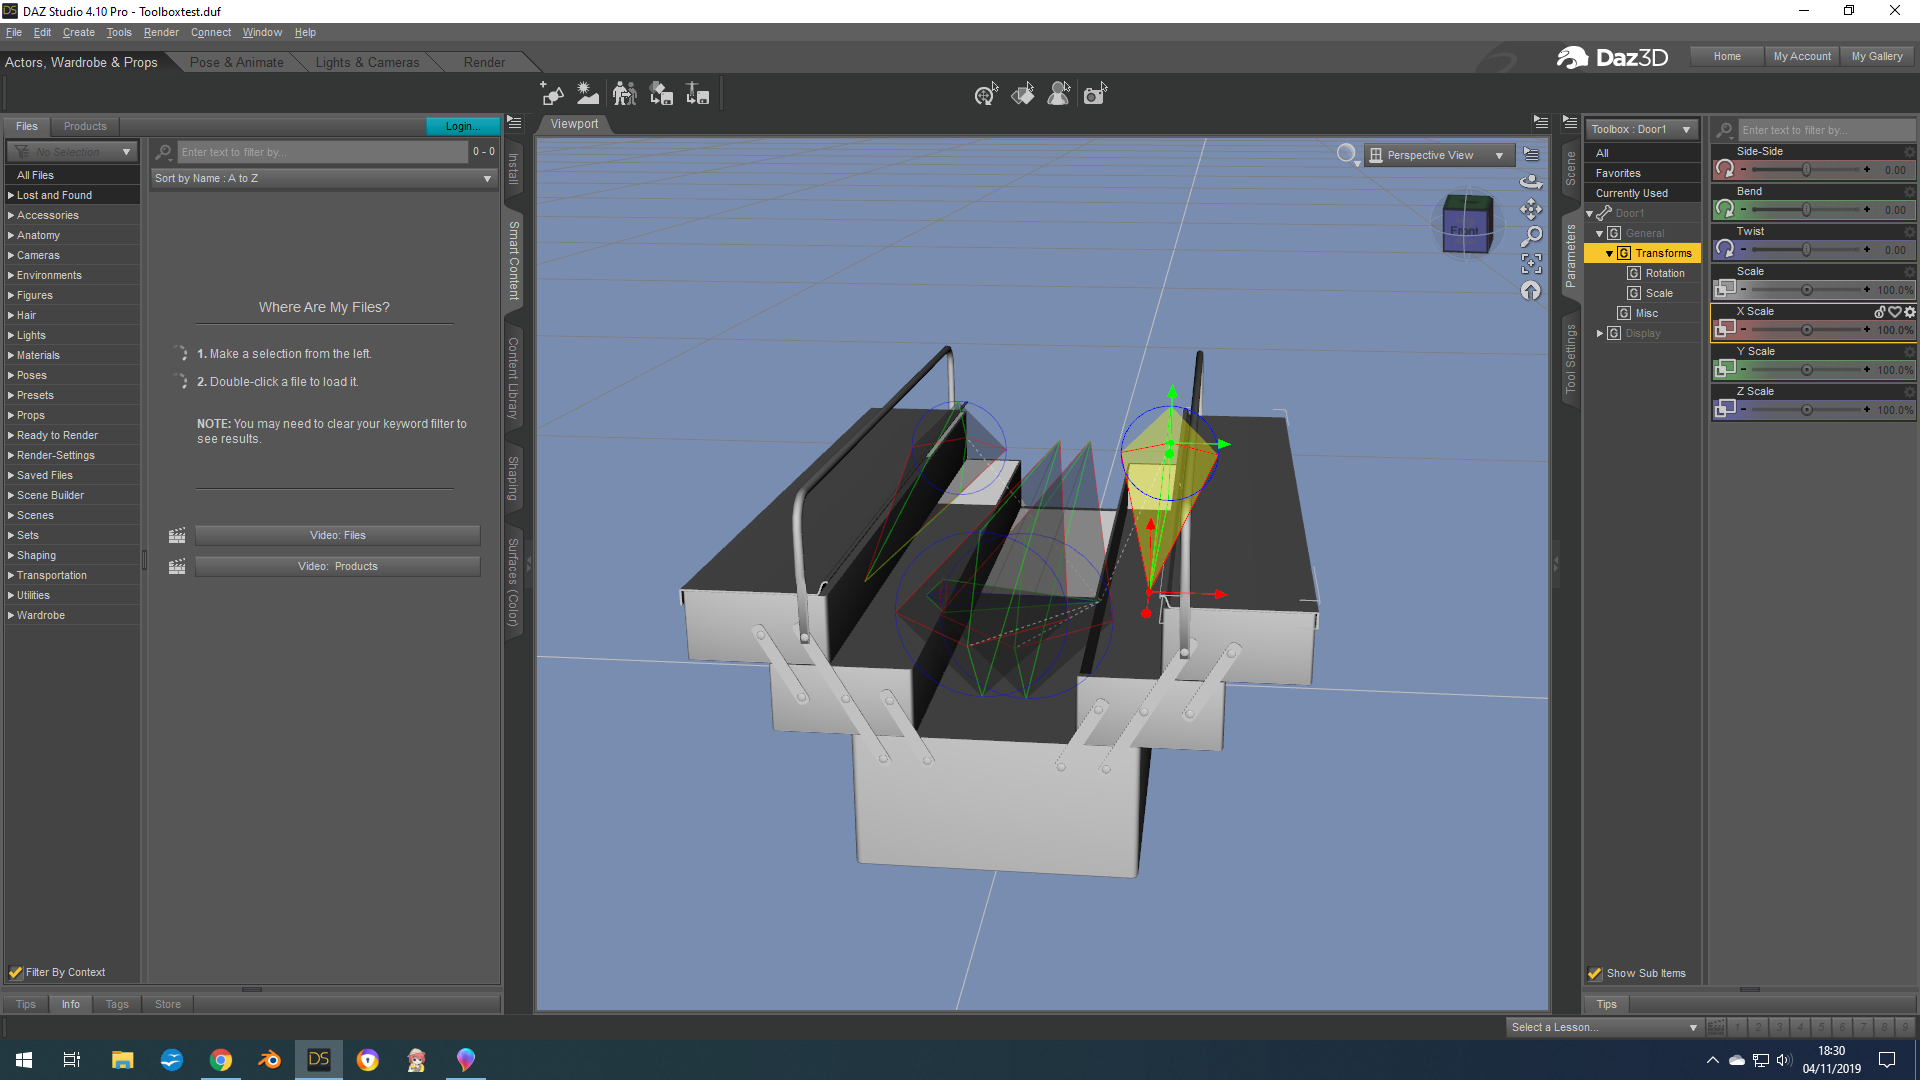
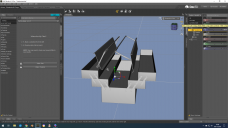
The morph open the toolbox as i want but you can see that the bones didn't moved and stay at the same location of the closed toolbox. The problem is if i use the twist dial of the bones they use the pivot point of the close toolbox and ignore the new location made by the morph.
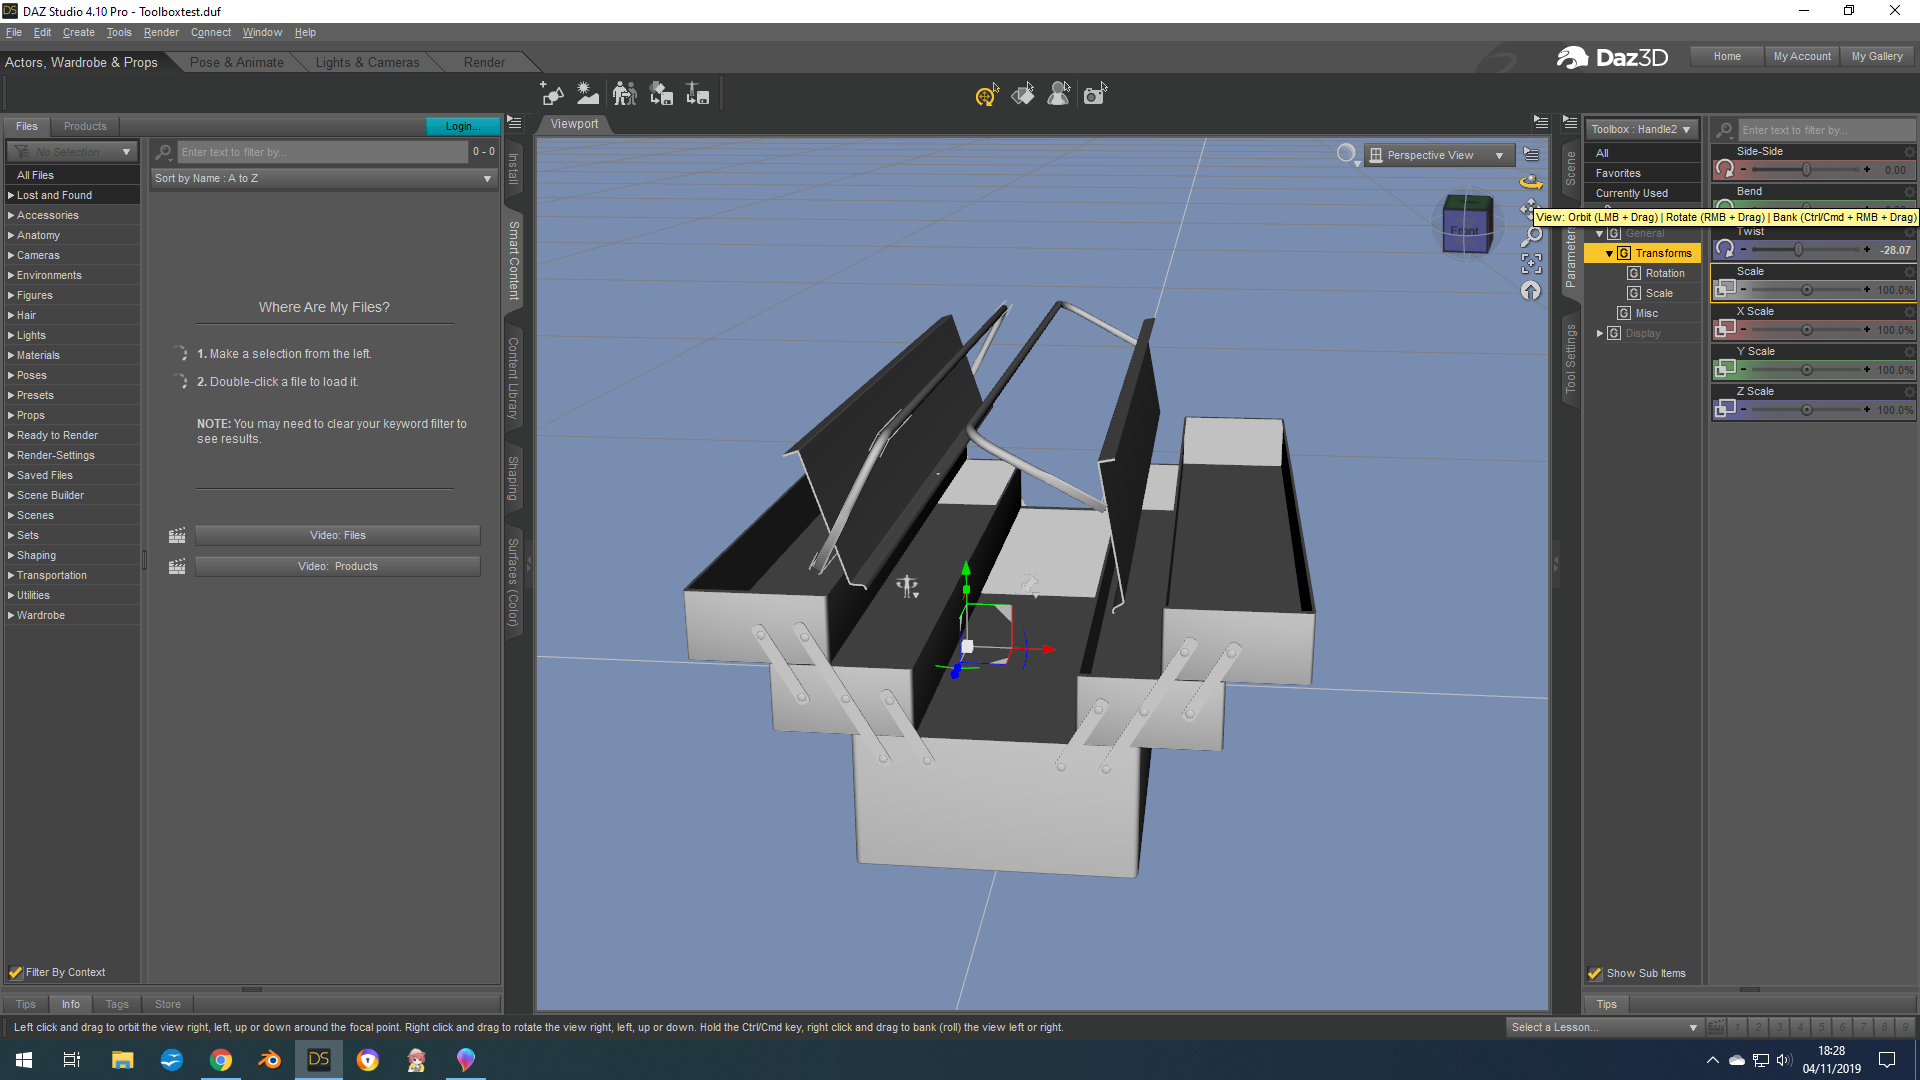
Result: totally messed up opening. So i think my problem is clear i want the bones to follow the morph displacement to open the doors and move the handle at the right location.
So is there a way to correct it at this point or did i make a mistake earlier in my workflow.
Thanks

Daz 3D is part of 
Connect
DAZ Productions, Inc.
7533 S Center View Ct #4664
West Jordan, UT 84084
Licensing Agreement | Terms of Service | Privacy Policy | EULA
© 2025 Daz Productions Inc. All Rights Reserved.
Comments
Thats works perfectly, thanks richard, once again you are my savior
How would you do the opposite and prevent the bones from following a morph? Is there a way to do this temporarily and perhaps non-destructively? Or to restore a morph after removing the erc would you have to reinstall the product?
What is it you want to achieve?
To create unscaled morph targets that I can move into maya and do my joint movements in there. I figured if I could prevent the bones from moving too much and just export them as obj's they should all line up relatively well to the standard G8 skeleton. Also off topic, do you know what is up with the Daz to Maya plugin? They were releasing timely updates and samjay was working on some cool new features then about 4 months ago the git repo just went silent. Its odd because there are still some major "showstopping" bugs in the last version that would literally only take a couple hours if that to fix. Any idea whats going on with it? I also wanted to take a brief moment to sincerely say thank you for everything you do for the community. You help so many people each day and I am sure it cant be an easy job dealing with everyone but thank you for everything you do, its for art and it means something.
Sorry for reviving an old thread, but I just have to say, THANK YOU! I've spent way too much time trying to figure out why my first character morph looked like she fell into a blender whenever I tried to apply a pose (See girl in red below). This helped immensely!