Vertex Modeler: multiple shaders on multiple polygon shapes in one vertex object
HOW? I forget how to apply multiple shader/colors on multiple polygon shapes in ONE Vertex Object.
I've selected the different polygons groups to be shaded/colored and named them.
Added shaders to the shader list and names them the same name as the actual shader.
How do I activate the shaders?
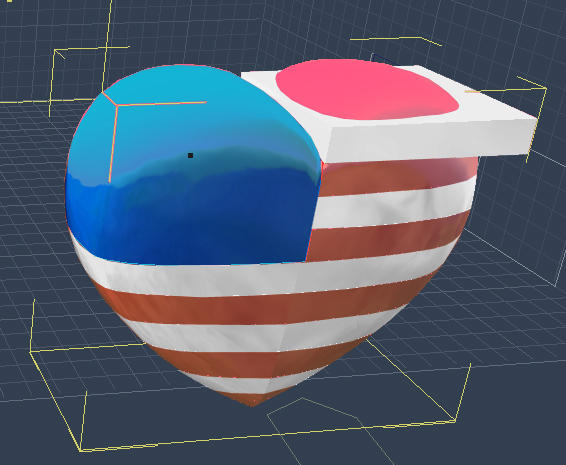
The end result will be a heart shaped USA flag after a "boolean merge"
(these may be in reverse order)
1-Proposed finish (need to work on the boolean)
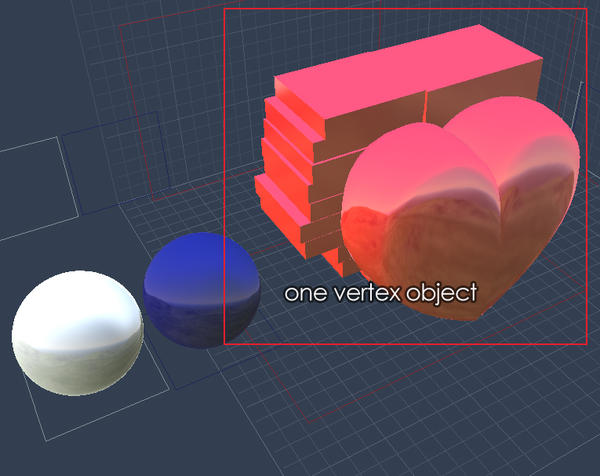
2-Vertex Object with shader samples
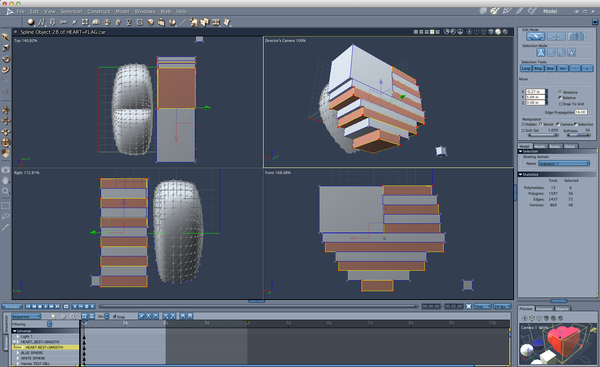
3-Vertex Object in quad view with Red group selected
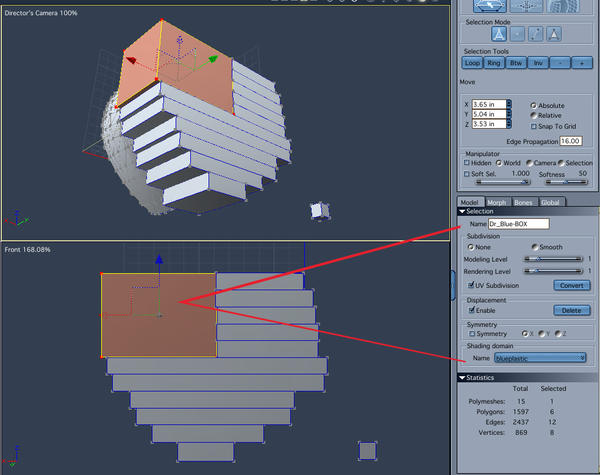
4-Blue Polygon with selection name and shader name
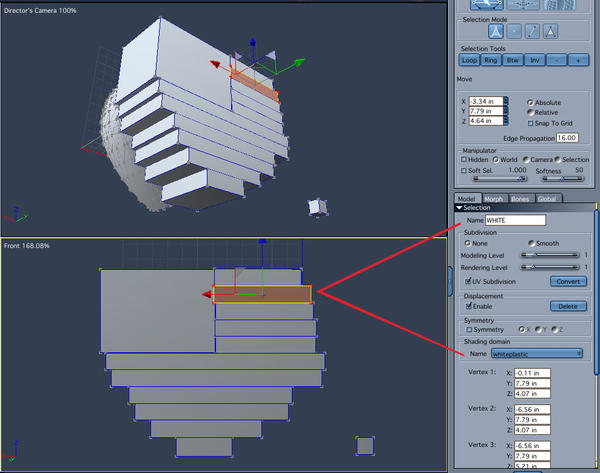
5-White Polygon with selection name and shader name

5-Shader_Domain-2.jpg
989 x 780 - 366K

4-Shader_Domain-1.jpg
984 x 779 - 359K

3-vertex_object_in_Modler.png
1764 x 1078 - 432K

2-vertex_object.jpg
765 x 607 - 266K

1-FLAG-HEART.jpg
566 x 465 - 178K


Comments
Select object in Assembly > Go to Shader room > Select (click or double click) each group > Give each the right color.
Or in Assembly drag the right color from the content tab on top of each group.
What he said! Once you've set the shading domains in the vertex modeller, you can simply drag a shader in the Assemble room. As you pass over each domain, it'll glow red. Simply drop it on the one you want.
In the shader room, you'll get a list of all the domains, and the shaders assigned to them. If you simply want a single shader on the whole object, apply a global shader to it and set the individual domains to None.
THANKS EVERYONE! You are all so helpful.
Once I realized where the "shader room" was I saw how you could drag the shader onto the object parts.
( I was looking for the "shader room" as a separate "room'. I first thought you were talking about the "texture room". But I found it, it's really a clipboard in the Properties Tray on the right. )
SUCCESS
see attchment
Congratulations! Looks great. And thanks for sharing your workflow.
OK, One last thing. . .
Is it possible to use a boolene on two complex vertex objects?
( This was possible in Bryce. )
I found once in the "Vertex Model Room" with a object, I can not import second vertex object into the Vertex Modeler. Least of all to preform a boolene procedure.
I want the shapes to appear like one shape
For the first question, I think that yes, you can.
To import a second object in the vertex modeller, you select the vertex which you want to import, you “Copy”, and you “Paste” in the modelling room of the first object.
HI :)
You can't "Import" a vertex model into a vertex model
You can "Copy" one vertex model,. and "Paste" it into another
this gives you two separate polymesh objects.
Naming your objects , "and shaders",.. will help you to select things,. as you work.
Warning: performing a Boolean operation at this stage will probably destroy the UV and Shading domains you've created.
Note: Boolean operations are the modelling equivalent of a "power tool" and while Booleans are useful, in the right situation,..
they can easily create huge issues in the mesh, when welding the resulting vertices.
It's better to learn some basic principles of box modelling before you jump into using Booleans.
hope it helps :)
I tried that and found that PASTE was NOT an option in the vertex modeler.
( And I also found out about having to reassign the shaders to the polygons after the boolean merge )
Still learning, but thanks to all that respond.
1st, let me say go with whatever works for you. So, here is one workflow to get your results.
I have inserted two vertex objects (cleverly called 1st vertex object and 2nd), one a simple cube and one a cylinder. (Pic 1 of assembly room see two different vertex objects). If you enter the modeling room for each object, you will see vertex objects like pics 2 and 3.
1) highlight one of the vertex objects and enter the modeling room for that object. Make sure the whole object is selected (should turn red, you can do it by using EDIT: SELECT ALL, or you can double click on any of the polygons, or you can use [Control A] for windows or whatever the same is for Mac (Command A?).
2) In any case, once the whole object is selected, use copy. Several ways. You can use EDIT: COPY or you can use [Control C] for windows.
3) Leave that modeling room. Select the other vertex object in the assembly room. Enter the 2nd object's modeling room.
4) Once in the modeling room for the 2nd object, use paste. You can use EDIT: PASTE, or you can use [Control V].
2nd, another option to get the heart-shaped flag with "Hope" in the banner would be to just use your heart-shaped vertex object, UV Map it, and then paint the uv map to get the results that you want. You could even use the 3D paint brush, which has a "stamp" tool for your logo.
diomede64: Thanks that was a very in-depth explanation which is what I needed. And It worked wonderfully.
Once again, THANKS to everyone for your quick replays and help. This is a great 3D community.