Japanese Corridor and Bedrooms Environment [commercial]
 ForbiddenWhispers
Posts: 1,434
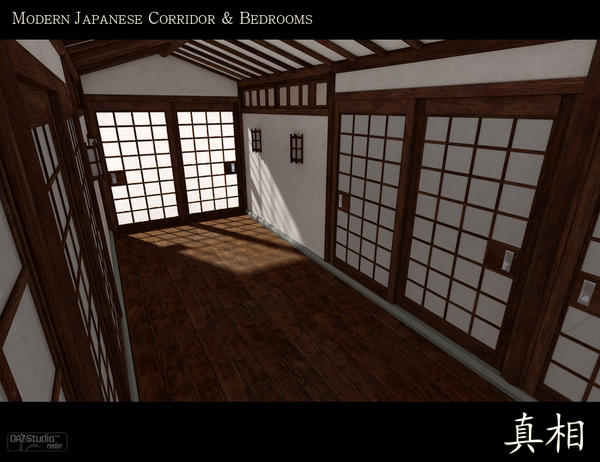
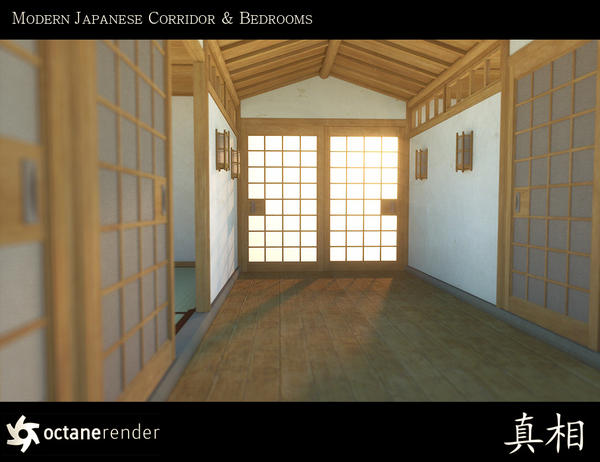
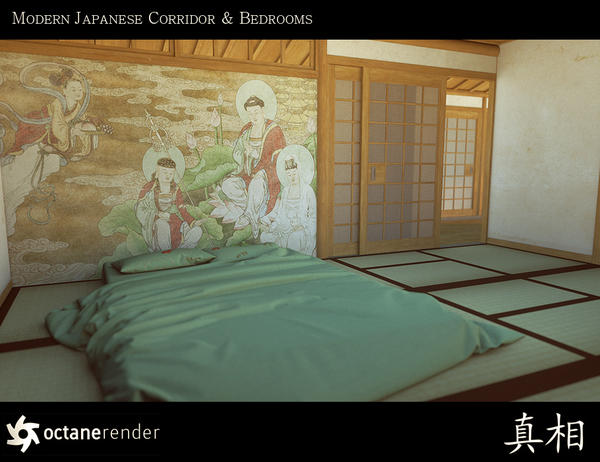
Presenting the Japanese Corridor and Bedrooms Environment for Poser and DS.
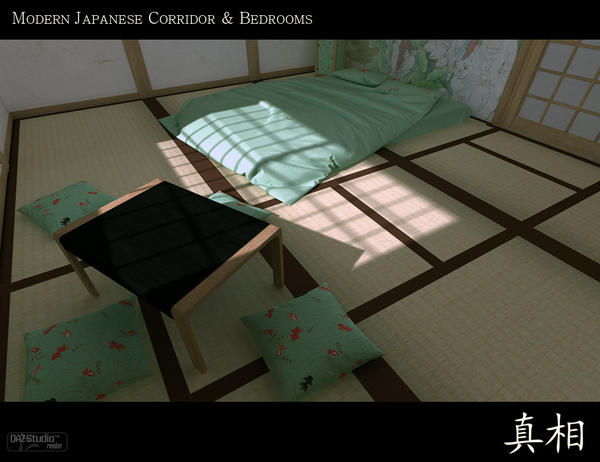
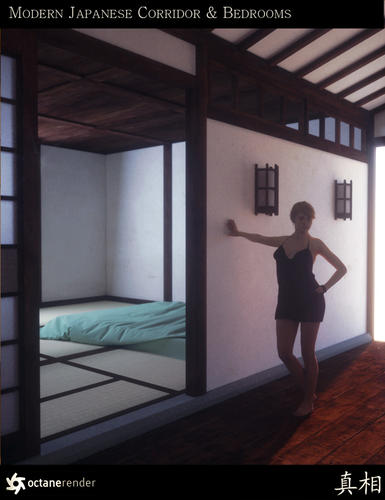
A beautiful, modern Japanese interior environment which features a detailed corridor and four bedrooms. All bedroom and closet doors open and close. Included are four props consisting of a bed, small table, cushion and floor lamp.
Several texture options are included for infinite mix and match possibilities.
30% off! http://www.daz3d.com/new-releases/japanese-corridor-and-bedrooms-environment
We can't wait to see your renders!

Promo01b.jpg
910 x 700 - 327K

Promo04aa.jpg
910 x 700 - 189K

Promo11.jpg
700 x 910 - 172K

Promo02.jpg
910 x 700 - 297K

Promo03.jpg
910 x 700 - 337K


Comments
Wonderful work with this set. I particularly like the unique chrome material you used on the door handles. I borrowed it to use on the katana blade in this image, and it works wonders. I'm also 'cooking' another render in Lux, but it's more of an experiment to see how well I could light the area using translucent material for the paper screens.
Out of curiosity, what did you use for the futon in your promo picture?
I'm glad you like the set.
What do you mean in regards to the bed? The DS renders or the DS Octane renders?
It looks like the same bed... isn't it?
Yes, but what do you mean? What material settings have been used on the futon?
Never mind, it's my own foolishness. I didn't realise that the futon was actually included in the package! I've found it lurking in my runtime, so all is well :)
Yeah, all the furniture you see is included:
Bed
Table
Cushion
Lamp
I'm sure I'll figure it out before I get a reply but, just in case I don't: how do I hide walls and ceilings to get the camera position? If I zoom out, the whole thing is enclosed in a box called NULL (only selectable in the surfaces tab). Ceilings and floors are linked so I can't hide (meaning set opacity to zero) the ceiling without hiding the floor. None of the walls or ceilings are selectable in the scene tab.
I'm surprised that no-one has answered you yet :( I have just seen this post.
It seems that you can't hide the walls and ceilings. However, what you can do is create a camera, place it where you want it, select the camera on the Scene tab, go to the Parameters tab and change the Frame Width/Focal Length values in the Camera section.
Yes I do apologize, usually I get an email to say whether a post I've subscribed too has been replied too. I didn't on this occasion or I accidentally deleted it. So sorry.
To answer the Q, yes you can't hide the walls, but the camera angles like DJB suggested are the way I always do it. For the corridor section, the best focal length for the full scene is 25 with a frame length of 50. For the rooms, switch to a landscape camera and a focal length of 15 with a frame width of 50. The lower the focal length the more scene you'll fit in the camera view. Whereas the opposite is true with the frame width. The higher the number the more scene will be in shot, but if you don't keep the two numbers complimenting each other in some way you'll end up with distorted perspective. It'll end up like you're trying to look down the worlds longest tunnel.
I hope this helped. :)
Thank you for the suggested values, that is very helpful.
Now a question from me. Is there a preset to load the room furniture all in one go, and optionally place them positioned in a room?
Thank you for the suggested values, that is very helpful.
Now a question from me. Is there a preset to load the room furniture all in one go, and optionally place them positioned in a room?
No, not on this occasion. There's so little furniture I thought we'd just leave it up to customers to use their imaginations. But the way to do it so you have your own presets is as following:
In DS - Load in your furniture how you want in your scene. Then open your library tab and find the folder with the original model in it. Click the '+' at the bottom of the window and click 'scene subset'. Name it what you want, and a dialog box will pop up listing everything in the scene. Only click the tick symbols near the items you want saving. Then click 'accept'. Then you'll always have a preset for whichever setup you've created.
In Poser - As you did in DS, load the stuff into your scene and arrange it how you'd like. Now there's two ways you can do this. But if it is just used for personal use the best bet is to just create a 'scene' file, which can be loaded in from the library directly from poser. Once you've arranged the props in the corridor, delete the corridor room itself so you're left only with the furniture props. Remember to delete any lights in the scene too, or they'll load back in when you click the preset you're saving out.
Go into the scenes area in the poser library and click the '+' symbol. Name the group of props whatever you will, then click OK. Then those props will be in their respective positions for continued use and you can load them back in whenever you like.