Mondays...
 Jason Galterio
Posts: 2,562
Jason Galterio
Posts: 2,562
And now for something completely different...
A recent forum conversation here inspired me to get back to work. In particular to dust off some old clothing products and see if I could use them with Genesis 8 and dForce. Over the weekend I started playing and experimenting... Juxtaposing things that wouldn't normally go together.
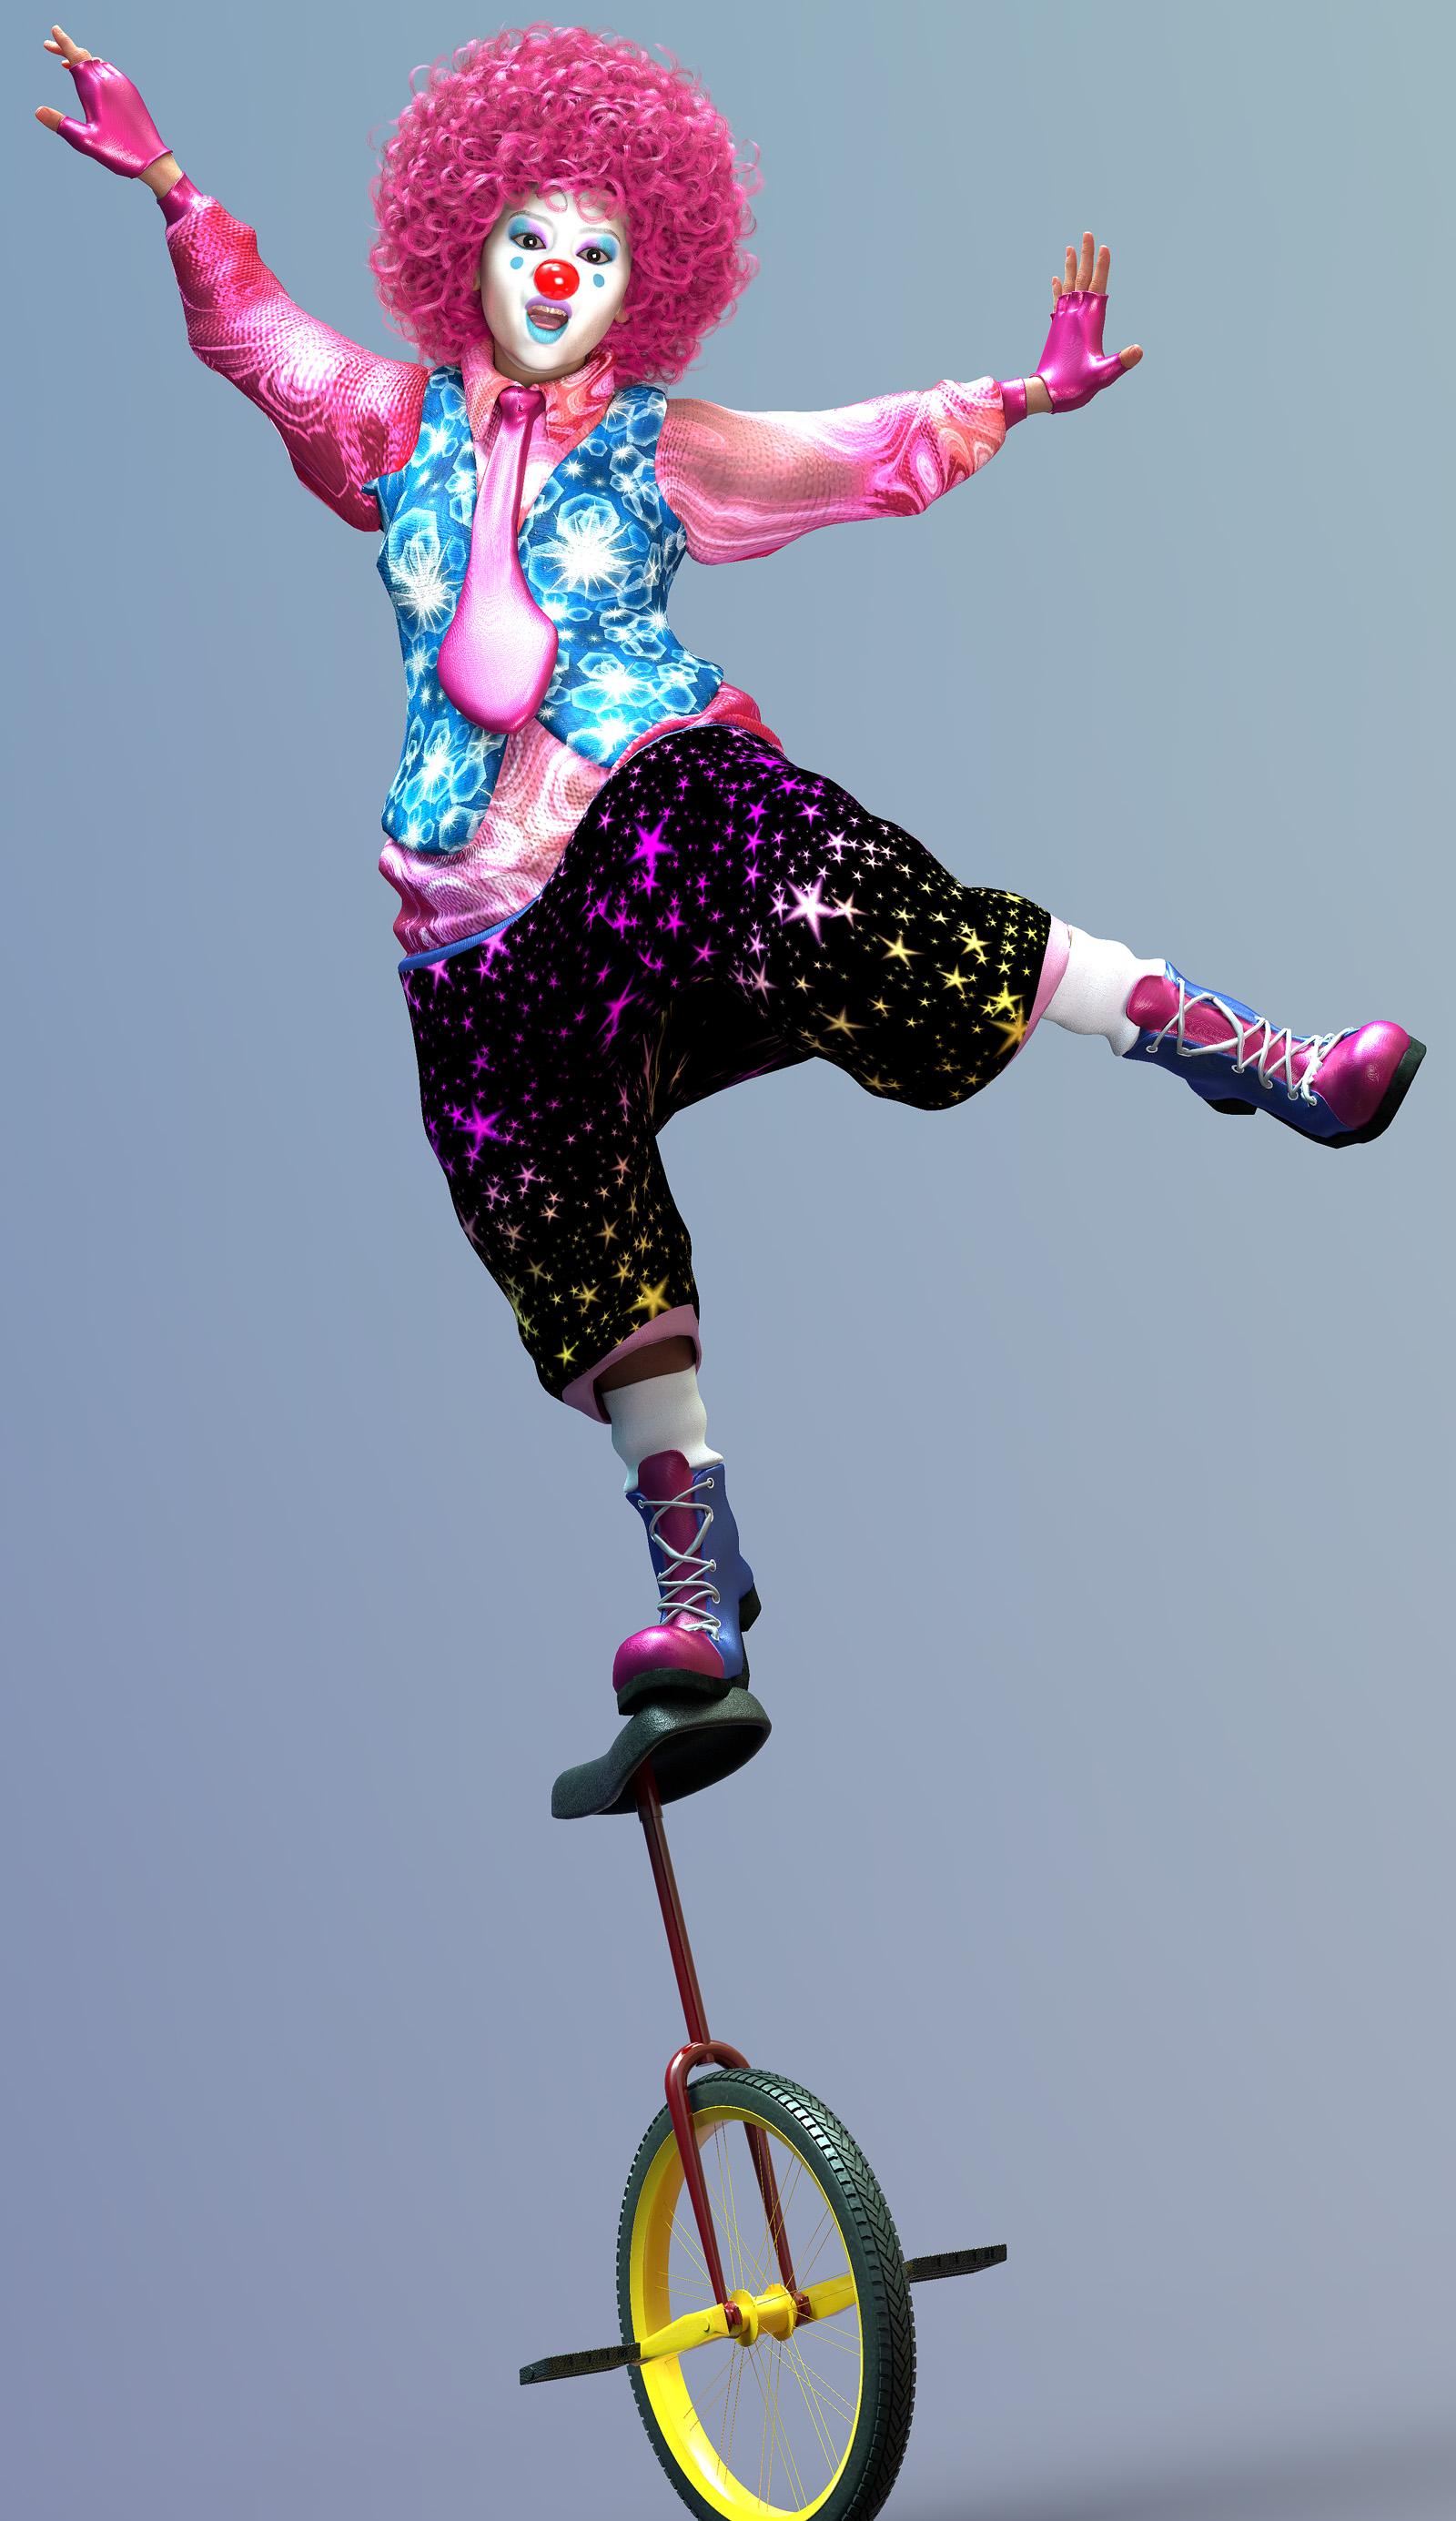
Today I decided I would take on a bit of a challenge and found what I thought would be the hardest product to convert. The Clown for Genesis.
I had to redefine all of the shader surfaces in order to use dForce without the clothes exploding. Or just pooling on the ground.
Once that was done, I decided to challenge myself even more... by getting the costume to work with 50% Topsy and 50% Edie.
This is the result. For a change it turned out a lot better than I expected... probably because I went in with no expectations. For the first time in a long time I was actually giggling as I added more things in.
Hopefully it will inspire others to experiment too.

Daz 3D is part of 
Connect
DAZ Productions, Inc.
7533 S Center View Ct #4664
West Jordan, UT 84084
Licensing Agreement | Terms of Service | Privacy Policy | EULA
© 2024 Daz Productions Inc. All Rights Reserved.
Comments
That is amazing. I really must learn how to dforce properly. I did a search in the store to see the original version of the costume, and what a difference you've made to it! Really brought it up to date and the pose is fun
Thanks!
The hardest part was redfining the surface zones. It takes a lot of twiddlin to get used to the controls and how they function. The downside was that the old textures would no longer work, so no striped patterns and such... So I went looking for the craziest textures I had for compensating.
The pose, I believe, was one of the ballet poses that I modified to exagerate the balancing aspect. The hardest part of this was getting it so it looked believeable. A lot of eyeballing the center of gravity of the figure and finding an angle that fit with the symetry.
The biggest trick was that I put a ball down her pants. :)
I stuck a sphere primitive around her hips and then sized and positoned it until it was just under the default shape of the pants. I applied a dForce Static surface to that and ran the simulation. That made the pants stay up instead of pooling on the floor. Once the simulation was done, I hid the sphere.
That is really impressive! I am really going to have to read through the huge dForce thread and learn how to dForce things for myself.
Thanks .. but I wouldn't delve into the thread. It would probably just make things seem over complicated.
The best bet is to experiment and get a feel for how it works. I tried using the tutorials and that just put me off trying myself. They all made things seem more complicated than they are.
You probably already own at least one wardrobe item that is dForce enabled...
1. Load the dForce wardrobe item, stick with something like a dress or shirt that already has some "drape" qualities
2. Load the associated figure and fit the clothes to the figure.
3. Open your timeline and insert a keyframe at 0.
4. Scroll the timeline to 30 and insert another keyframe.
5. Apply a pose to the figure. Try to use something that has the arms, hands, and legs away from each other.
6. If you scroll back and forth through the timeline you should see your figure move between the default pose and the pose you applied.
7. Open your Simulation Settings window. This is where things seem like they get complicated, but really aren't.
- Initialization: Set Start Bones from Memorized Pose to Off. (Using the timeline accomplishes this.)
- Duration: Set Frames to Simulate to Animated (Custom). This will default to 1 to 30.
- Leave everything else at the defaults.
8. Hit Simulate.
If your wardrobe explodes, don't panic. Just hit clear and start experimenting with the settings. Use a different pose for example. Or ease the pose a bit. Check the smoothing settings in the wardrobe properties.
Things to look out for:
That the fabric isn't intersecting with itself when the simulation starts. This confuses the simulation because the fabric is trying to figure out how to "unfuse" itself or if it should be fused.
The Dynamic Layers might have conflicts. You can find this setting under the surfaces for each part of the wardrobe. It usually defaults to 1. Think of this as the clothing layers... 1 would be underwear. 2 would be a t-shirt or jeans. 3 would be a coat. As the number goes up you move away from the body. Setting these helps dForce understand how the clothing should "lay."
The basics are really simple. Once you get a hold of that, the more complicated things (like making your own dForce surfaces) are a lot easier to understand. Honestly, the more things "explode" the more you will see what you need to do and not do.
For example, I don't bother with the "Wind" nodes. If I want to simulate wind, I will move the figure so that the "momentum" will create the wind effect I am looking for.
The biggest caveat here is that these instructions really only work for still images. If you are going to animate with dForce, then you are entering into a whole new area of complexity.
Thank you so much! I've copied this onto my notepod on my computer and I'm going to try this. I don't do animation (though that may change someday) so this is the perfect way for me to start to learn how to do dforce for myself. I generally just press simulate and hope for the best! And then give up when it doesn't work, lol.
I do the same thing. And gave up a bunch of tiimes since everything seemed like it was exploding on me.
Then I found this: https://renderguide.com/daz-dforce/
That made all the difference for me. The information was provided in a way that wasn't overwhelming and inspired me to give it another go.
Thank you, I've just had a look and that article looks perfect for me from what I have read so far. Now for a few days of concentrated learning and testing .
.