Stupid Shader Tricks 2
 MarkBremmer
Posts: 190
MarkBremmer
Posts: 190
This SST (Stupid Shader Trick) isn't for the materials room. It's used with spot lights.
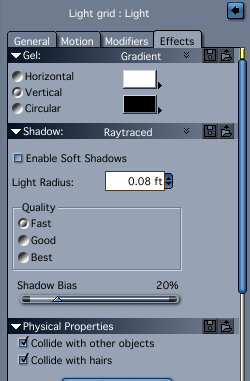
There are many additional functions in the Spotlight > Effects tab but I'll concentrate on the ones that are shader based: Gel and Gradient.
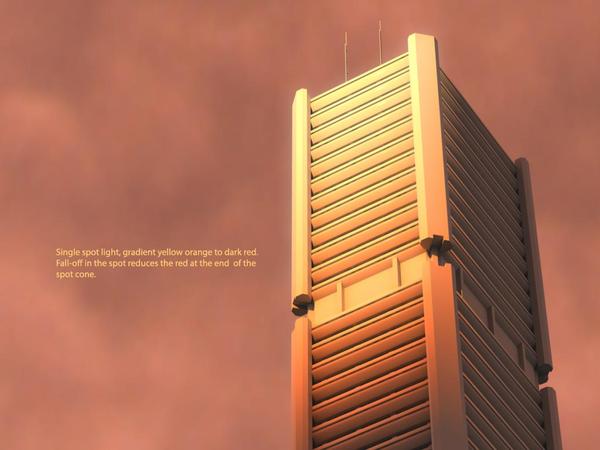
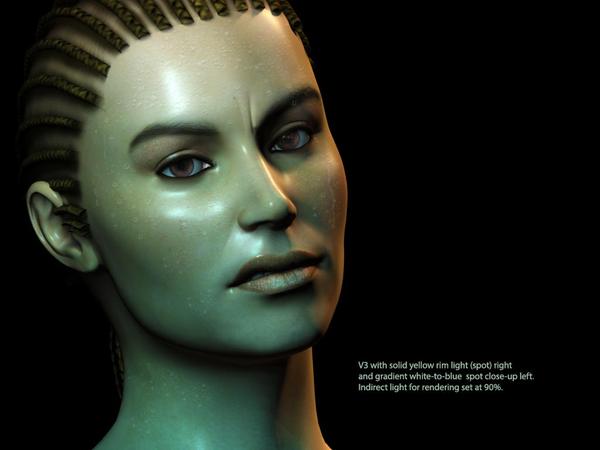
Gradient Shaders in will allow you to change color and intensity of a single spot light across the area it lights. It's a super easy way to add visual richness, suggest additional environmental light yet retain consistency of using a single spot.
I've uploaded a portrait and an exterior scene to demonstrate.
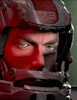
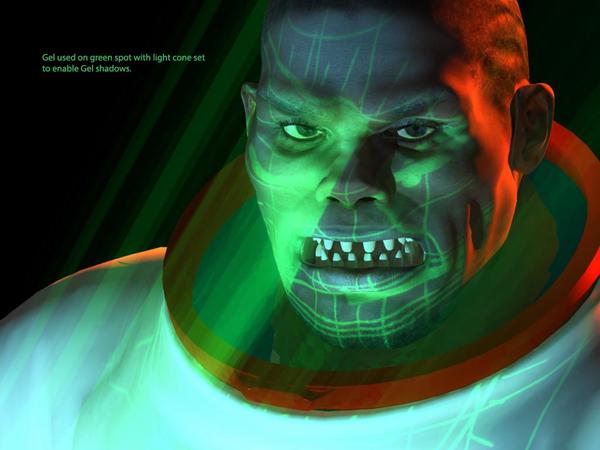
Gel Texture Maps are a super way to project effects onto your objects in the scene. (I used a blurry/splotchy gel in my Mayan scene in 'Tis for the Glory 11 to fake shadows from vegetation) In the sample I've uploaded here, I'm projecting a computer display onto the characters face to better tell a story of what is around him.
Faking water caustics can be done really easily with a gel also – even animated if you have video.
Daz 3D is part of 
Connect
DAZ Productions, Inc.
7533 S Center View Ct #4664
West Jordan, UT 84084
Licensing Agreement | Terms of Service | Privacy Policy | EULA
© 2025 Daz Productions Inc. All Rights Reserved.
Comments
great advice, thank you Mark. Goes along way to make lighting less crisp and less cg.
Now I feel the need to share my inexplicable favorite.
It turns out there are a few different gel variations in the Spotlight Effects tab. The barn door and blinds are good for little more than basic shaping, and the Map option allows you to project graphics.
Now consider the formula gel. Here's an example I just whipped up.
Drop a Spot light in the scene, set the Gel to Formula, and paste the stuff below into the formula object's text field.
a=20;
b=4;
c=60;
r=sqrt(u*u+v*v);
theta=atan2(v,u);
red=(1+sin(theta*a))/2;
green=(1+sin(theta*b))/2;
blue=(1+sin(theta*c))/2;
I turned on the Light Cone too, with a bit of turbulence and the 3d enabled, and dropped a few objects—unshaded, mind you—into the scene. The result is attached.
Playing with the Gel feature for spotlights is one of the surest ways I know to have a couple of hours magically disappear out of you day. :D
Yup, that is an old favorite trick of mine too!
For the attached render I used the dollar sign image which I ran through a fractal generator to get the pattern (that image is attached too and everybody is free to use it however they like - if they like) and made it a light gel, tiled it to get the effect I wanted, then assigned the spotlight to only illuminate the multi-plane cyclorama (with the stock "Tiles" Carrara shader) so it seems to be textured onto the floor and wall, but it is really coming from a light in front of everything!
I did this with other gels in a couple other renders too - but can't find them at the moment...
oopsy - double post!
EDIT - A double post calls for, a double post!
Went over to Fractalforums and found my entry in last year's contest.
If you don't know The Mandelbrot Set, this image wont be as funny - but it is called Brotman and uses the same trick as above in the same way (the fractal texture on the walls and floor was the gel this time) and the car was a Carrara item, Quad Racer, I think... Except the wheels were replaced by Mandelbulbs %-P
This uses a gel to project the movie on the movie screen.
It is also worth mentioning that black acts as a mask and will not let any light through. Also, if you need your spot a specific, uniform color, then use a grayscale or black and white gel. If you need (as I did) the gel to also provide color, then you will generally want a white light.
A video in a gel light with a light cone makes a great movie projector screen image, admittedly the only thing I ever used a gel light for but still :lol:
I had to fiddle with mapping and masking if I recall though to get a rectangle projection, was a while ago do not have it any longer.
Wouldn't setting the spotlight to only effect the screen remove any fussing with masking?
Mapping may be another story. Getting read to leave for work, so can't check just now - but I wonder what effect resizing the light with the scale tool would have?
Something to experiment with on break at the job!
Need to dive back into the formula options.
wonderful, just been mucking round with them and was ready to give up :)