Marshian Light Projection System for Iray [Commercial]
 Marshian
Posts: 1,465
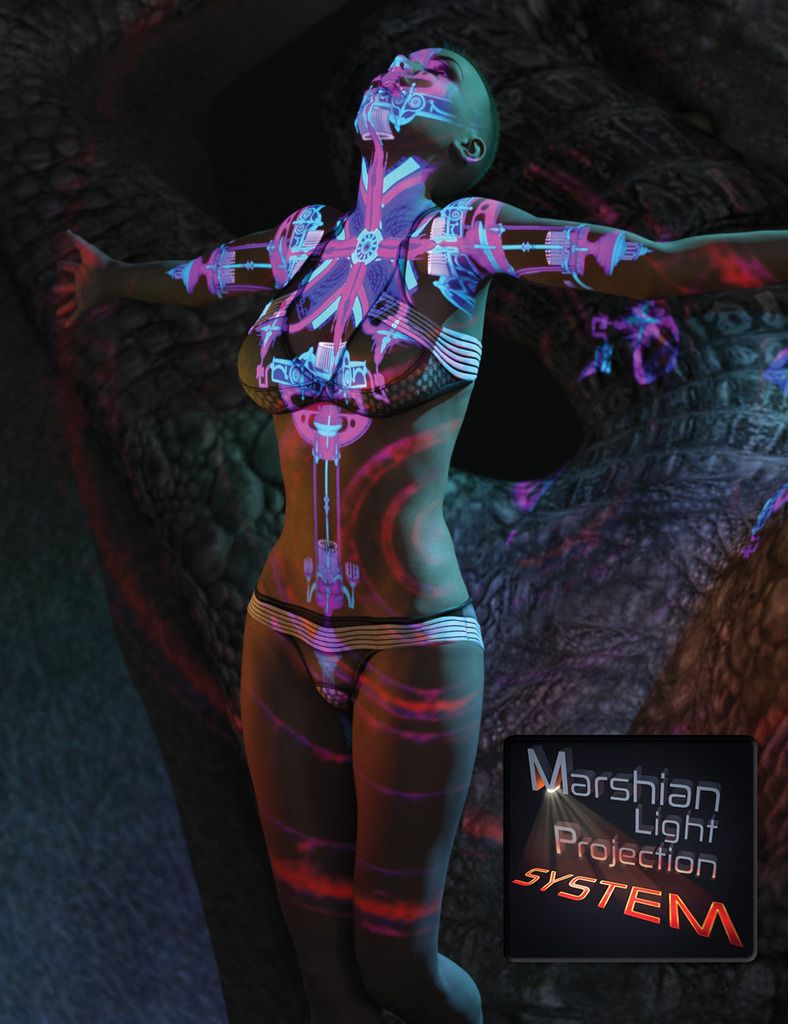
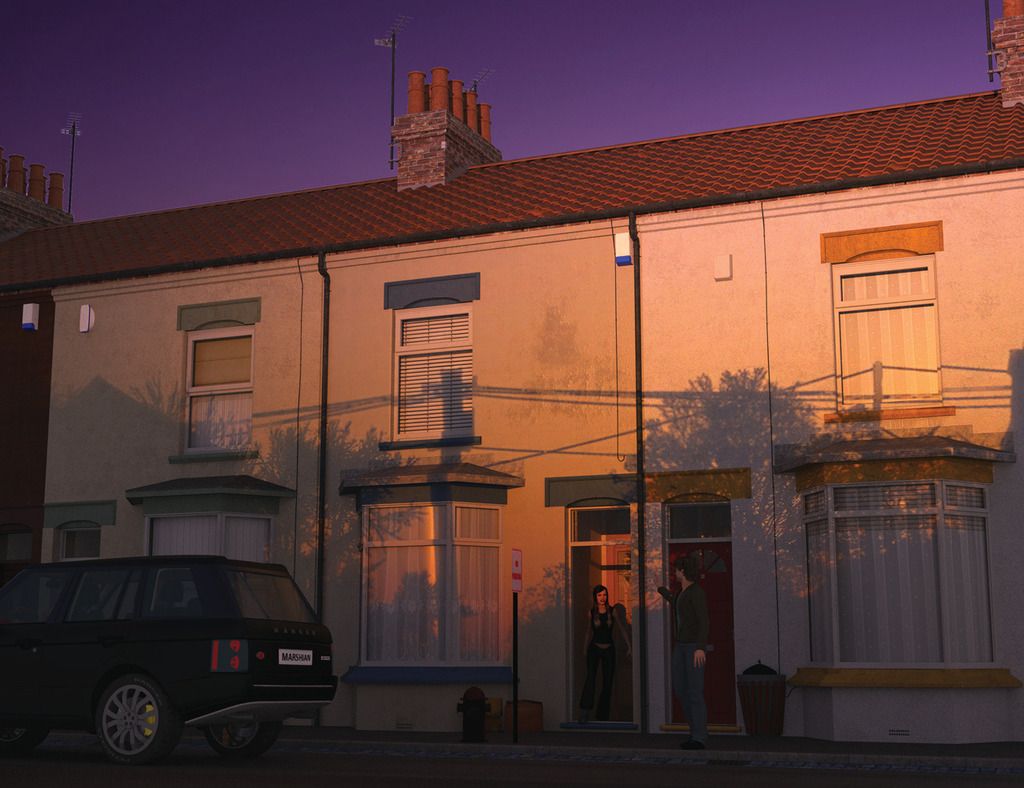
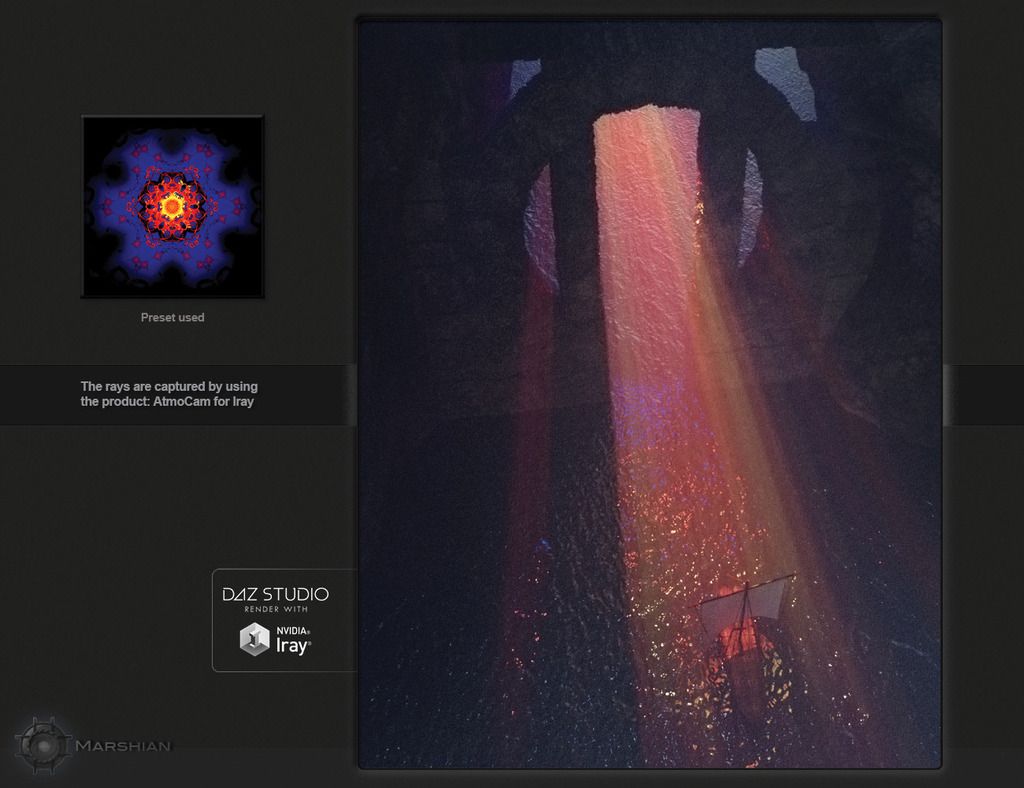
Introducing the Marshian Light Projection System for Iray.
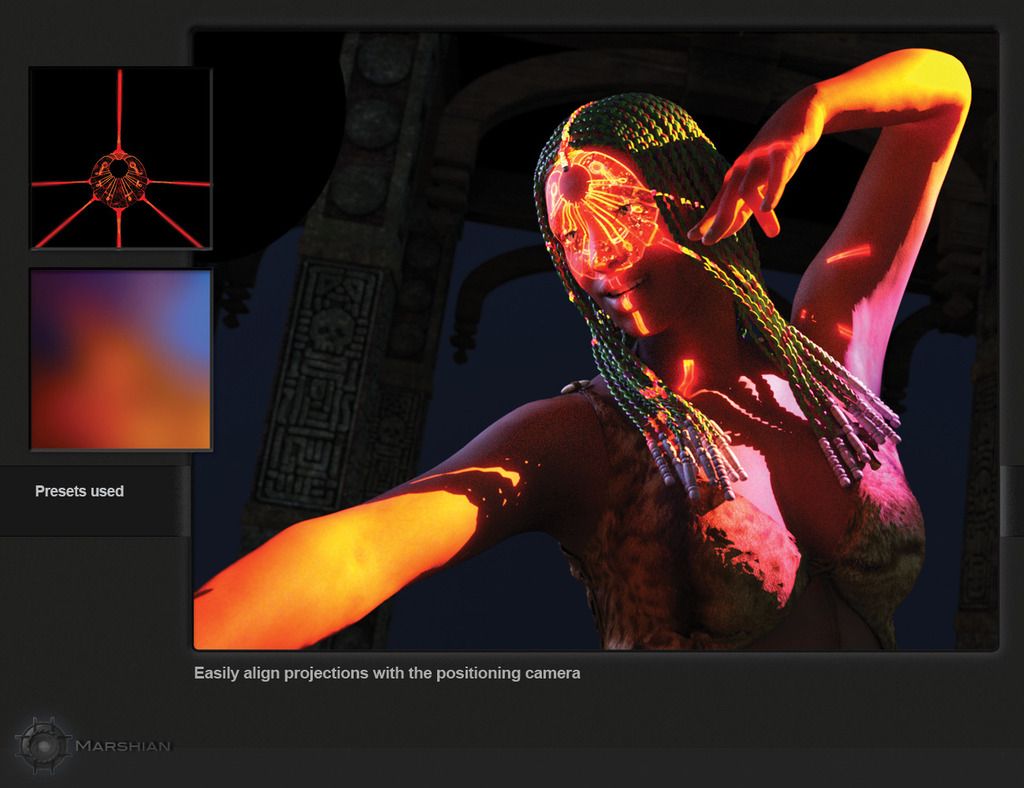
Whether you’re working on a single figure or a highly complex scene, it has never been this easy to add truly amazing lighting effects to your Iray renders. The user friendly design means less learning, more creating and as we have found… more WOW!!! Simply look through the system’s camera to place the projection exactly where you want it, adjust the light’s intensity and hit render. The projector is powered by a standard DAZ spotlight and renders just as fast.
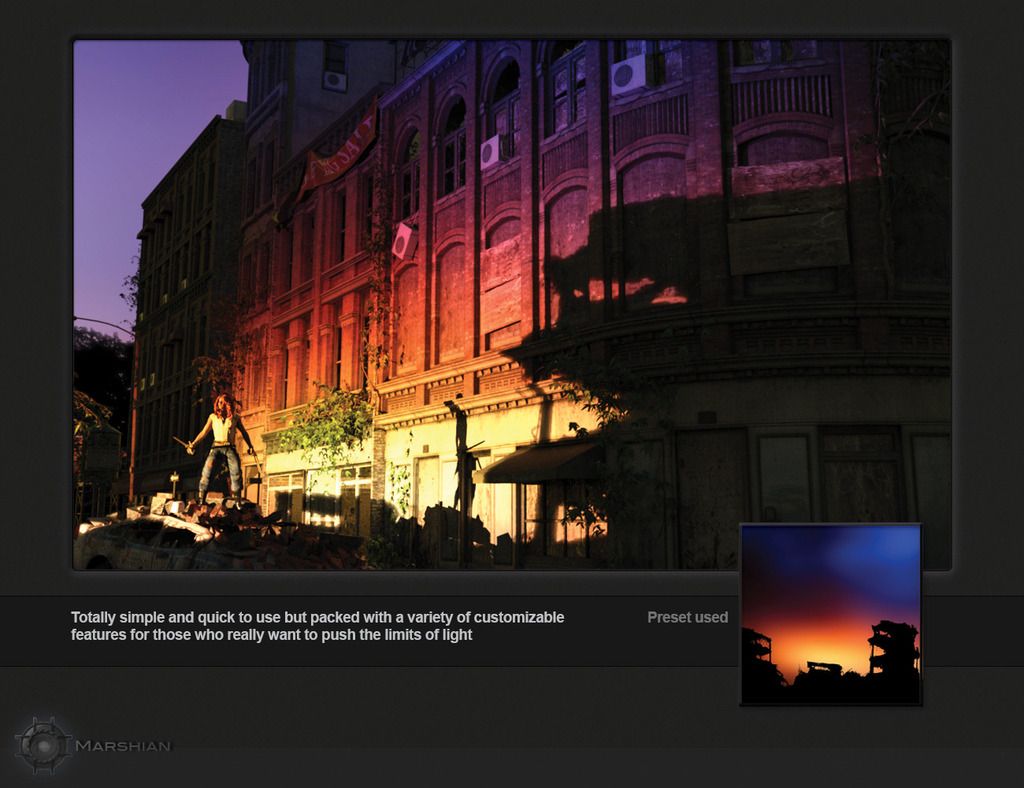
Included in the system are 50 custom-made presets that cover everything from the real world to the out of this world. Innovative, fast and easy. Designed for large architectural scenes as well as intimate close-ups on a single figure. Totally simple and quick to use but packed with a variety of customizable features for those who really want to push the limits of light. Developed exclusively by the Marshian Brothers for Iray. Honestly, it’s the most fun we’ve ever had with DAZ Studio.
__________________
Here is the ReadMe
We will be watching this thread closely for the next couple weeks and answering questions. The forum messaging-to-email has been inconsistent so if you post here and we don't respond within a day or so please send a PM.
My brother and I would truly enjoy seeing your renders so feel free to post here.


Comments
Beautiful!
It's in the cart....
This looks great. Beautiful and dramatic!
Thanks you guys! During production we were so delighted to discover this renders as fast as a standard spotlight.
Hello Everyone. Thank you for the comments and the kindness. We hope you have as much fun with the projector as we have. We’ll be checking in frequently so feel free to post comments or questions. And yes, please post your renders.
We can’t wait to see what you do with it.
While we were developing the MLPS we realized something, the anticipation after you hit render and you’re waiting for the image to pop up. In short, we found a new bit of excitement to those moments while developing and testing the projector. The effects are so dramatic and yet easy to change, you never know exactly what you’re going to see. Hint: the AUX viewport in Iray mode is your friend when setting up the projector.
Thanks for checking in! We look forward to hearing from you. Hit that render button and enjoy the moment…
Step by step:
Look through the MLPS Positioning Camera in the Scene Tab to place the projector exactly where you want the material preset to be projected. Both the projector and the spotlight inside the projector are parented to that camera and will move with it. What you see through that camera is exactly what will be projected into your render.
To choose a material preset, the “Marshian Projector Iray” must be selected in the scene tab. The projector is parented to the MLPS positioning camera. Note: some material presets come pre-loaded with an opacity mask.
If you can’t clearly see the material preset you’ve selected when looking through the positioning camera, un-check “Preview Lights” under “Window.” Now do an AuxViewport render to check projected image placement and light intensity.
Although you can see exactly where the material preset will be projected by using the view mode of the MLPS camera, use of the aux viewport (Nvidia mode) is highly recommended when placing the projector.
My question is, can you use your own presets for this system?
Hi Derry's Work-
Good question- Sure! You can use your own images. Just make sure they are square, you can add black bars to fill in the height or width, if not it will be distorted. Then you can use one of the opacity masks to soften the edge.
Just replace your image with the one that is loaded, there are two channels in the surfaces tab.
If using an image with text you may need to flip it.
That's what I wanted to know as well. So if this works with my own presets, it's much more usable. So far I didn't do any Iray renders, but this camera might convince me to give it a try.
cherpenbeck and Derry's Work- The hardworking people at DAZ agreed to add a new promo that highlights this "Use your own images" feature. We really dont request this kind of change very often especially for something that is not a "correction". I think they noticed the value in it as you two did, others will too.
Thanks so much for your feedback, this new promo I just finished is the result of your comments here!
Currently the Product (installed via DIM) does not have an Icon. Could you pls check?
I'm happy to help troubleshoot- I can check in about an hour, rendering promos right now.
In the meantime- Have to tried to uninstall and reinstall? Is this issue in Smart Content or Content Library, both? What do you see in place of an icon? Is it a yellow traingle or an empty white frame with a question mark (4.8 or 4.9)?
The icon for this product looks like this:
Renomista- This is very odd indeed, I dont know why you would be experiencing this. The icon is there for me in 3 places: Smart Content (left side of image below), DIM installed files (right side), and Content Library. I would suggest a reinstall through the DIM or better yet use the new Smart Content "Available" tab in 4.9.
Let me know if these ideas dont work.
Yellow Triangle and Both Smart Content and Content Library.
And Not the MLPS Item like shown above but the Icon for The Product in Product View that needs to be in /Runtime/Support
And I allready found the Issue:
Naming Error!
I can confirm the different file names but I cant reproduce the error or find an icon thats not working. I'm using 4.9 and the yellow triangle is in 4.8, that could be the difference. If you rename the file and refresh does it correct the problem? This file naming in runtime/support is taken care of by DAZ after I upload it.
How would you like to proceed?
Yes Renaming the File and Refresh solves the Issue
So probably Daz should correct it in the package and issue an Update for the less tech savy.
Looks awesome. Purchased. Every render is just a blinding mass of colour with no objects showing. The simple instructions that are supposed to be included do not seem to be. Edited to add: OK, got it now. It is awesome.
This product is amazing, and is even quite speedy-ish on my steam-driven PC. It looks like being the product that finally converts me from using iRay 'when I've got the time' to using it all the time.
It took me a little while to come to grips with it too, but I soon got the hang of it and once I'd mucked about with the supplied images and decided it was time to start using some of my own, it took about a milisecond to come up with the idea of creating something with one of the brushes from my prized collection of 'Ron's Lights and Shadows'. This could have been born to partner with your product - I just used white on black and then adjusted the colour and intensity of the light for sunlight/moonlight/whatever. I wasn't going to post a render as I have got the in-laws staying and haven't finished anything to my satisfaction. Then I decided to post the nearest thing, partly because I don't think you've got anything that isn't yours on the thread yet and I always like some kind of confirmation that a product can be used by Average User as well as by a Skilled PA (and I am a very average user!), and partly because I wanted to help show a bit more of what it can do to those on the fence about it while it's still available at a 40% discount.
So, here it is... no postwork (or much pre-and-during-work either!). The light is a bit too intense, Millennium Cat looks unwell (nothing new there!) and it could've done with being rendered for longer but I've got to run and so this is the best I can do for now. Thanks, guys - this product is a winner and I'll be using it a lot.
Are these lights similar to gobo lights etc in use.:
http://www.daz3d.com/gobo-lights-for-daz-studio-iray
These caught my attention but didn't known if it was something different than normal gobo lights.
FusionLA- its a good question to be sure. I don't have that product but I can tell you the use is probably similar in that there is a light that projects color and pattern. My guess is the similarity ends there as our light system projects images and you can look through the positioning camera to line them up with your subject.
Best thing to do is go through the promos for both products...notice the differences.
Astracadia- thanks so much for posting! Your intention is spot on for what we'd like to see here. Now that you have your scene composed what you could do is put that window image into the "mask" channel and apply one of the gradient presets to make it look like afternoon light, which you would have at that angle.
I think the MLP Gradient Five preset would look awesome here! I doubt you would even have to turn the light down. I think this preset would also bring focus to the cat and counter as that bottom third of the gradient is the brightest.
I just found this thread. I assume one of the cameras that got loaded was not the one to use to render with? I tried that and it was an awful render. I am trying with a different camera and it looks better. I just found this thread. Well I got it in 2016 but just decided to try it out. Can I do two projections in the same render?