Daz 3D is part of 
Connect
DAZ Productions, Inc.
7533 S Center View Ct #4664
West Jordan, UT 84084
Licensing Agreement | Terms of Service | Privacy Policy | EULA
© 2025 Daz Productions Inc. All Rights Reserved.
Comments
Your city examples are great!! Hope you don't mind, I posted a reference to them in my Creating Big City thread.
One question I had on that thread was how to place city buildings on a steep hill or slope. I'm thinking UltraScatterPro would be able to accomplish that with the right building design.
That is an interesting question. I think part of the building would have to be underground in order for the entire building to sit upright on the slope. I want to try this! But I haven't finished posting my helicopters over the burning courthouse yet. I got distracted with dForce magnets and beta testing a different product for another PA.
@RGcicny, it kind of works, but I had a couple issues:
That shows a lot of promise. The Medina Cityscape product did as you suggested, they had elongated foundations so they could accommodate slopes but it only does middle-Eastern style square buildings. With a cube as a foundation added to a building, I think you could manage. I'll have to give this a try when I get some time. Thanks for your quick tests.
Experiment: Add Action to the Urban Sprawl 3 Big City (Continued)
This is the continuation from a previous message. Now I will add news helicopters hovering over the area around the burning building. I only own one helicopter product so that is what I'll use. I'm using the OH6A Helicopter. To give it some variety, I created a group of 4 OH6A helicopters, ecch colored with a different Iray shader. I will scatter the group. To scatter the helicopters at different heights and different distances from the action, I will use a Volume scatter. A Volume scatter positions the instances inside the volume encompassed by the item selected as the Target node. For my Target object, I am going to use a large Sphere primitive that I squish on the Y axis. I will position it over the burning courthouse and near the camera that I will render with. I want it to appear as if my camera is in one of the helicopters. This side by side viewport screenshot shows the position of the sphere, how I scaled it on the Y axis, and where my rendering camera is in relation to the sphere and the rest of the scene.
My UltraScatterPro settings are shown in the following screenshots:
On the Settings tab, Volume scatter is selected. The Scatter object is the group of 4 helicopters that I created. The Target object (where the helicopters will be scattered) is the Sphere, which I created and positioned over the burning building. Hide target is checked, because I don't want to see the Sphere in my scene. It is only there to define the volume within which the helicopter instances will be placed by UltraScatterPro. I chose 25 Instances/Iterations, assuming I would actually get fewer because of constraints I will set up in the Distribution tab.
On the Distribution tab, I set Spacing to the maximum value of 1000 cm. I don't want my helicopters overlapping or too close to each other.
On the Scaling tab, I left everything at default.
On the Rotation tab, I set the Alignment to Point at the burning building. I checked Clamp Y axis, because I want the helicopters flying straight and level, not nose diving into the fire!
Note: UltraScatterPro version 1.0 has a bug. When a scene is saved and reopened later, UltraScatterPro doesn't remember the Point at target. If you run UltraScatterPro again to rescatter the previously saved scatter, you will have to remember what Point at target you had used and reselect it. HowieFarkes is aware of the problem, so hopefully there will be a future fix.
After scattering, this viewport screenshot shows the helicopters positioned within the volume of the Sphere, all pointing at the burning building. My scatter yielded 13 helicopters. Some will be hard to see, in the final render, because they blend into the building instances.
After rendering the image, I added a bit more fire, some smoke and a little vignetting in Photoshop. Here is the final Urban Sprawl Big City:
Experiment: Create a Landscape from Terra Dome 3 Iray
I've owned TerraDome 3 Iray for a long time, but I almost never use it, because it is so bare. I own a lot of landscape products with nice tree and plant props. I want to use UltraScatterPro to cover TerraDome 3 with plants.
I started with the basic Zone A and Zone B and dialed some of the included morphs to make some mountains in the background and a pretty flat foreground. I decided there was too much wasted terrain behind my camera, so I used the geometry editor to delete the Zone A polygons that were behind my camera. Then I dialed a few more morphs to make an indentation in Zone A to form some areas below ground. I added the Terra Dome 3 Water and those areas became a lake. I tried the TerraDome Atmosphere, but that rendered too slowly and I got impatient and deleted the Atmosphere from my scene. There is a strange circular pattern that warps the lake reflections. I'm not sure the cause of that or how to fix it.
This is the bare terrain I started with:
I created a group of trees and several groups of small plants like weeds. I didn't use any Distribution Image Maps to control the placement of instances; I used Elevation, Slope, and Affinity to control the plant placement.
Note: Elevation is measured in Meters, not Centimeters!
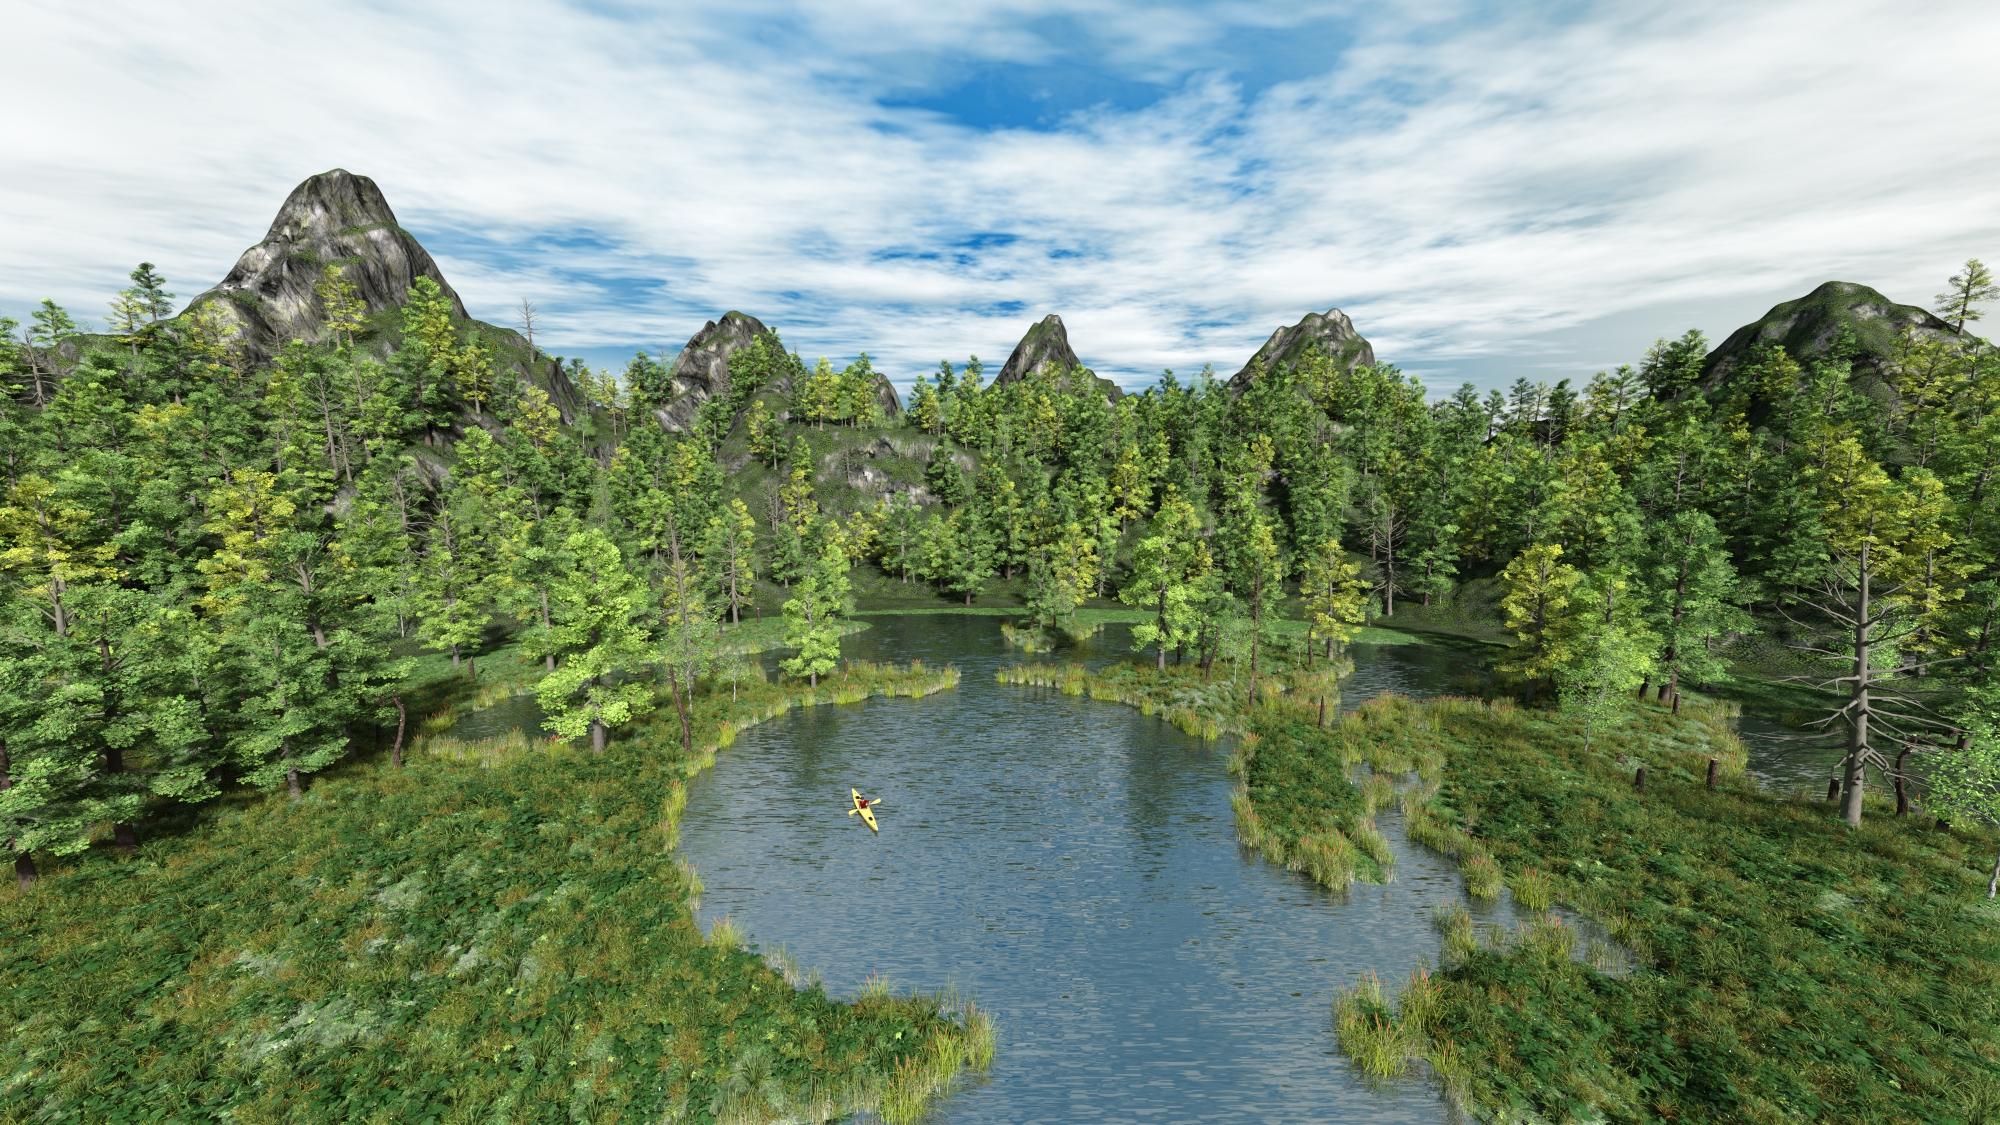
After scattering plants and trees, I added a man in a kayak for added interest. I used Scene Optimizer to reduce textures on the man and kayak by 16X, since he is only a speck anyway. I eliminated all normal and displacement maps on the plants and trees. This is my final landscape:
That curved distortion in the water reflection bothered me. I experimented (see messages below) and discovered that it is caused by the Generated Bump in the TerraDome 3 Iray water shader. I modified the GB Offset and reduced that distortion. This value worked for my scene:

This is the result:
That has so much more character than the original landscape!
Thanks, Rich. I think it turned out great. I was surprised that the whole thing took less than 4 GB of memory in my graphics card and rendered much faster than I expected. I'm rendering a closer camera view now. It really highlights the strange circular distortion in the water reflection. Do you have any idea what causes that?
Is it the sky reflection? Looks like maybe an artifact of the dome.
That looks so much better.
The water might be caused if you are using a very wide angle lens setting on the camera.
I've found that the circular artifact in the water reflection go away if I disable the Generated Bump in the water shader. But then I lose all the ripples on the water, too. I need to experiment more, I guess.
The wide angle camera and the sky reflection were good ideas. The distortion in the water reflection still happens, though, even with a different camera focal length and I don't think it is caused by the skydome, because the reflection of the trees also has the distortion.
Finite or Infinite dome?
I think the distortions might be how the UV is laid out; it's one time I really like pulling out one of my procedural shaders for a simple generated bump.
It is infinite sphere, but the problem happens even with Draw Dome off.
@Oso3D Will, is there any information available on "generated bump"?
I'm discovering that I can change the distortion by playing around with values in the GB Offset part of the TerraDome 3 Iray water shader (TDWater). Here are a couple comparison renders:
Here is a closer view of my scene, with the default 06 Lake Murky water shader preset. Notice the strong reflection distortion on the right side of the image.
That last image is looking pretty good - much better than the "bare" landscape. I rarely use Terrdome 3 for the same reason - I'll have to dig it out and start scattering!
I'd love to see what you come up with.
https://www.daz3d.com/oso-master-shader1-for-iray
That has noise generated bumps, so, pretty easy.
Though it's admittedly a big sledge hammer of a solution for a small thing.
Thank you very much Barbult for this great thread I discovered three days ago. I've drank it all to the last coma.
Fantastic!
I have used UltraScatter since the first moment and passed to Pro without learning Matrix and Volumetric and those "lessons" have opened my eyes. Thanks again
I have used Terradome several times and ultrascatter works great on it
I did my first image with USPro some time ago and would love to ak you a question about something I couldn't solve
I will show you all the image to make myself clearer as my technical languagge is a mix of Spanglish, wink
I wanted to make grass concentrate around the base of the 4 big poplars at right bank. Those are real objs, no instances. The ground around them is a Surface created over Terradome AZone but one only for the 4 of them. Other areas with trees are also surfaces added to AZone
I used those surfaces to apply each UltraScatter as each of them has differents patches of grass or tres
My aim was to use the surface under the trees filled with high grasses that would cover the union between the trunk and the soil. As this was a last decition I couldn' start again creating a unique surface for each tree and apply affinitty to each
To o much grass to really cover the bases made the terrain beside so naked I really should have UltraScattered in the main piece of terrain which has no plants but the main texture.
I finally cheated with some strokes in the gimp ;)
How would you approach this issue?
Thanks again for this great thread
@barbult, you're efforts with Urban Sprawl 3 are amazing. I don't have 3, but I do have the original, (no longer available,) and 2. As I was reading your posts, I immediately wondered how it would look if you combine two or all three of the Urban Sprawl products for more variety.
@Jerife, I don't use TD3 as much as I should, and I seldom use Zone A and Zone B together. (Zone B is great for adding terrain in the distance of other sets.) Anyway, one of the tricks I use is to select polygons with the Geometry Editor and create Selection Sets with those polys. Ultrascatter Pro allows us to target Selection Sets. In your example image above, had you used a Selection Set under your poplar trees, you could easily have changed the shape of the selection by adding or removing polys with the Geometry Editor. Also, you can use a group in Affinity, so if you grouped the poplars, you could set Affinity to Repel and should be able to get your rings of grass around the tree. (I'm guessing if you use both Repel and Attract, you could also get the grass to be more dense around the base of the trees, but I haven't tried anything like that.)
Here is an image where I used TD3 and Ultrascatter Pro:
Almost all the vegetation behind the ruins was done with Ultrascatter Pro, (I positioned the trees and the one Cow Parsley manually.) I used Selection Sets to keep the scatter in front of the camera and out of the ruins. Most important to me, the moss growing up the cliffs from the waterline was only possible with Ultrascatter.
(See the full-size image in the Galleries here.)
ETA: Jerife, that image is amazing as is. Wow. Just… Wow!
I should have posted this image sooner. It's the first time I used Ultrascatter Pro.
I wanted butterflies flying between the camera and the bear. Another product I have was pretty cool, but some of the butterflies were flying upside-down. Then I tried adding them manually. but they didn't look natural. Finally, I broke down and started Ultrascatter Pro. It was intimidating at first, because there are so many new settings, but it really didn't take long to get comfortable with the Pro version.
The butterflies puddling on the ground use the original Ultrascatter, and the butterflies on the leaves were manually placed. The butterflies in the air used the Volume option of Ultrascatter Pro.
(See the full-size image in the Galleries here.)
Wonderfully informative thread, which I'm following with great interest. Thanks Barbult!
It's great to see new contributors!
Very pastoral! I like it
My contribution: I dForced a moving plane then scattered butterflies using a cellular distribution map. Setting is Oriental Breeze Pool and butterfly is from Noggin.
@RGcincy What does "dForced a moving plane" mean? I can't picture it. The butterflies relally blend nicely into the picture.
Sorry for being too cryptic. I added a sphere to the upper right tip of a horizontal plane, then animated the sphere to move horizontally. Under dForce simulation, the sphere pulls the plane causing it to wrinkle and fold (similar to this example). I then chose my preferred frame and did the ultrascatter of the butterflies on the plane. The folds give a greater concentration of butterflies in some regions than others. The image shows the plane and the camera location. You can't see the sphere as it's behind the backdrop. I hid the plane for the render.
That is very clever! Did you consider doing a Volume scatter, or did that make the butterflies too spread out?