Daz 3D is part of 
Connect
DAZ Productions, Inc.
7533 S Center View Ct #4664
West Jordan, UT 84084
Licensing Agreement | Terms of Service | Privacy Policy | EULA
© 2024 Daz Productions Inc. All Rights Reserved.
Comments
What do you find funny? Do you want to expand on that? I like many others are just seek clues to iporve towards photorealism. The point of my post is what makes this simple STL scan based image more convincing then a lot of Daz out of the box stuff. What can we begin to learn to close the difference?
No, not really;) I guess humor is like art, hard to explain.
It's a static model with the lighting baked in from the photo. It's not a posable 3D model that is lit by scene lighting. It's kind of like asking why does the real picture look like a real picture.
- Greg
Greg,
Thanks for the feedback, it does have the lighting and shadows baked in, fair point. And I agree that it's static compared to a posable model. But is it JUST the baked textures you find gives it a level of photorealism? If so how then does Daz fail to deliver similar lighting with complex shaders and various lighting technques?
I know very little of 3d scanners. But I guess they bake both shadows and reflections on the diffuse channel. If so the shader is trivial and "the magic" will break as soon as you try to animate or use a different light condition. That is, the figure materials will mostly not react to the environment.
Can be good enough for static background figures.
p.s. To reply your question, it's that they're two completely different things. You have a "baked static" scene vs a "simulated animable" scene, thus it's just fair that the latter requires more work to get the same "realism".
I was writing out a big post but realised im just stating the obvious.
Ultimately, and this is true for both photogrammetry and Daz figures: every little bit of detail helps. Photogrammetry benefits from every little detail being photographically correct (since they are scanned from real objects). Obviously they have limitations, like being non-posable, not responding to light correctly, and will be relatively low res in places. With Daz figures, they have a different set of problems and it's hard to bring out the necessary details, and unfortunately because of the increased degrees of freedom with posable figures, there's a lot of ways you can break realism. Not helped by fact that asset library for Daz figures isnt exactly made by a bunch of artistic geniuses (although there are a handful of photoreal assets).
Great feedback here thanks.I find there could be some big improvements to the Daz character in general. The rigging for sure. I've been creating a series of morphs for neck, back and jaw to replace dealing with them on a node basis. The neck especially seems to create issues. As far as assets go yes, agree also.
My latest efforts.
Very nice, which character is this?
To add another level of realism check out the vellus addons below. You may already own a product that includes vellus.
https://www.daz3d.com/dforce-vellus-hair-for-babina-8
https://www.daz3d.com/iray-vellus-horizon-shader-system-for-genesis-8-and-81-female
https://www.daz3d.com/catalogsearch/result/?q=vellus
Thanks! She's a modified Olympia 7 for G8 Female.
I like all three of them. It's hard to pick a favorite.
Just showing off a little bit... again ;-)
Screenshots from DAZ Studio Iray only. No postwork at all
I think the big problem is that the SSS is never accurate enough in Iray. You always end up on the too waxy / plastic scale either way. Only allround lighting and perfect tuning of the parameters sometimes mitigates that, like yours Masterstroke.
And the only renderer I know that can bridge that gap succesfully is the Arnold Renderer, which is the one most Hollywood FX houses use. They use an interesting technique where light bounces around the skin and using a depth map to simulate how deep the light scatters and in what way.
https://www.arnoldrenderer.com/gallery/?q=skin
Quote:
"Only allround lighting and perfect tuning of the parameters sometimes mitigates that..."
Yup, as soon as you use more than 2 lights, e.g one HDRI and one key light, you're out of luck.
It seems impossible, to create big scenes with lots of light sources photo real in IRAY.
You are a legend! beautiful
Worked on some shader improvements for the pupils and added some eye sockets morphs. Now she has red eyes by the flash of a camera.
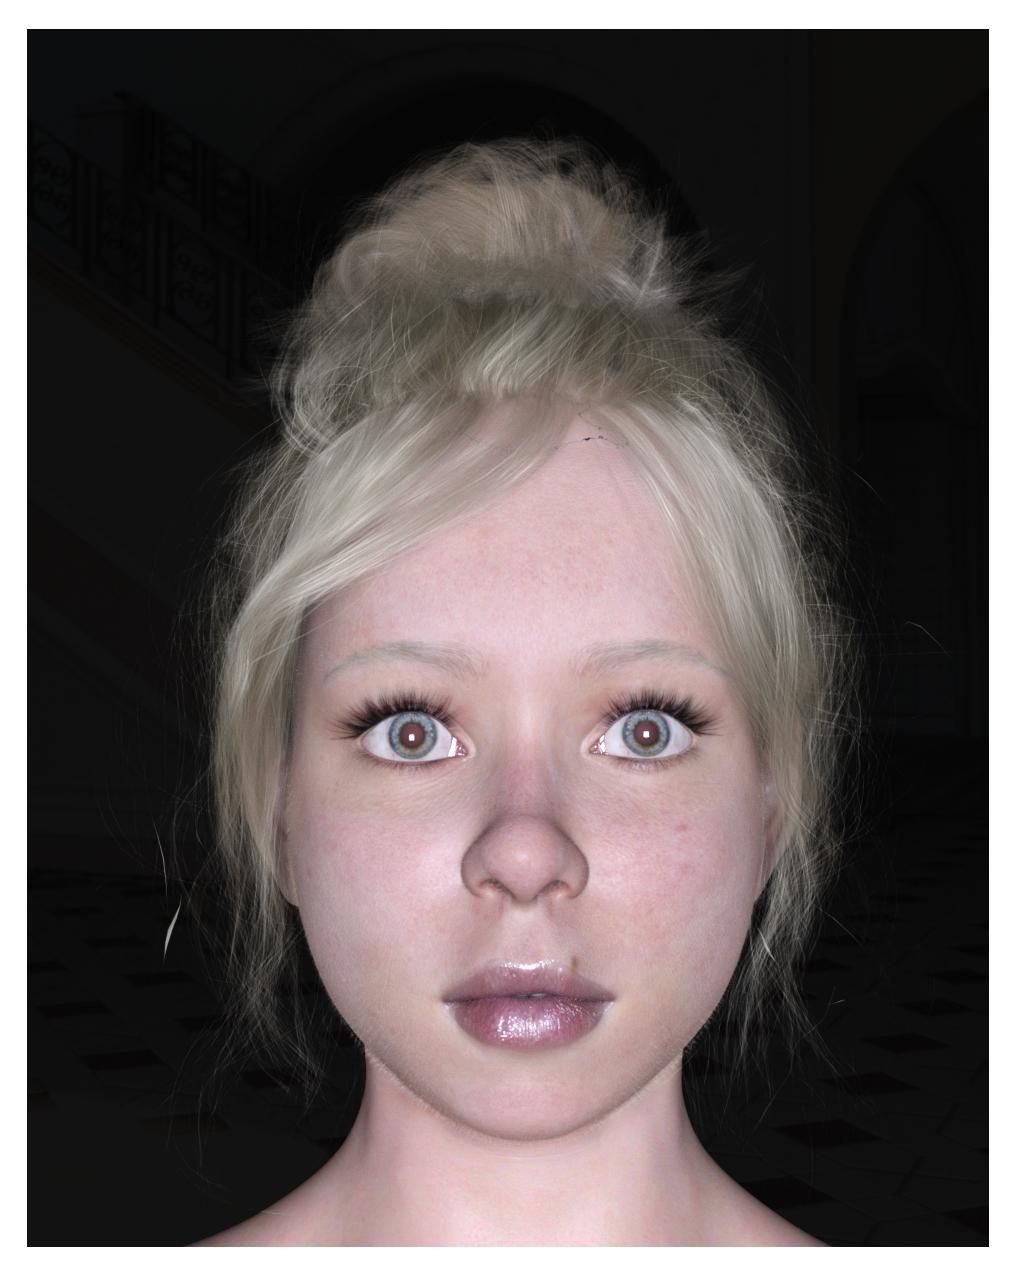
Really good! You are pushing the boundaries! I did the trick where I cover parts of the face with my hand and asked myself if it was realistic.
The good part -> the mouth/bottom part of the face. Really photorealistic. Forehead/hair is also good.
Almost there -> The nose, it seems a bit to hard edged, maybe a SSS thing perhaps?
What I miss -> The eyes seem a bit weird on the outer edges. Not sure what it needs, maybe moisture or better organic bends where skin folds meet eye?
Thank you both :-)
I've been struggeling a lot with that eye ball lacrimal area. I
The lacrimals having a simple red shader, but a HD morph instead, which made them hard to cobtrol.
The more you deal with the details (e.g. the corners of the eyes, the lashes or the lacrimals), the more the details become a problem.
Yeah, the devil is in the details as they say!
Which hairs are these? They looks good.
does anyone else get this SSS leaking out from the underside surface at certain parts?
I get this in both Blender and Daz Studio...
Nice work, can you explain the modifications that can lead to more photorealism ?
Sorry to bump this thread.
I am trying to get photorealistic results with Daz Studio using the iray Uber shader, and looking for input or suggestions for good Specular settings. I looked through this entire thread for discussion on specular settings, but could not really see much. Currently I am just using the dual lobe specular settings that several Daz Originals are using (e.g., Dain 8 and Scar 8 use this specular set up), as per attached.
I admittedly do not fully understand what some of the parameters are. From my base level understanding the two lobes work in some kind of constructive way to create a base level specular and also enhance the specular highlights of microdefects, the dominant lobe being controlled by specular ratio.
Dual Lobe Specular Weight = The total amount of the specular effect
Specular Roughness = Specular effect of each lobe, with lower being more glossy effect
Secular Ratio = value of 1 represents only Lobe 1 active while value of 0 is only Lobe 2 active
Specular Reflectivity = ?? (this is where Daz Originals PAs have put the Specular map)
Wondering if anyone had found any suggestions for best practice.
Sorry for the VERY late reply, I just happened to stumble back across this thread.
Specular is definantly one of the main keys to realism. But it's not a one fit all character situation on the amount. Darker skins will need a bit higher value. But you don't want to also overload these settings. When it comes to maps I usually just put it in Dual Lobe Specular Reflectifity channel. I see a huge range though of styles of these maps, from extreme white to near black, to just above black grains. One has to actually be careful with these maps, they will create visible material zone differences if not created right. But what is right? Well I personally go with extreme grayscale from high to low. That is say nose bridge, cheeks, chin forehead usually are near white fading to near dark by the lower jaw.Palms white, tendons gray and arms mostly black. Basically a lot like a hight or bump map, anything that projects the more shine I give it.
If there isn't enough "PLAY" in the map between dark to light then the map is pretty much mostly useless for defining the specular to any managable degree within the settings. One thing I have done and you can too which is pretty easy, is if you have a specular map that doesn't have a wide range then take it into a paint program, Photoshop, Corel, Paint.NET whatever that has a tool for curve control. This will let you to amplify the contrast.
Also ever notice that the lips are darker then the skin on some maps shouldn't that be reversed if they should have more shine? Yeah so you may need to paint those in more white if you want them shinnier. I think some PA's are just using a simple conversion from the color map that doesn't correct for this. Not all..but some.
Anyways I hope that helps.
Thank you for your reply. I have just been testing out settings and values empirically, while comparing to other maps and shader setups from different characters.
It's hard to develop an eye for what seems right, when differences are so minute from value to value, and especially when there is interplay from other settings on the specular, such as bump/normals.
Maybe there is no perfect result so i guess it's fair to just settle for what feels realistic.
I agree... I've also found the right skin makes a difference too. The newer skins are more realistic... It's finding a happy balance with lighting too.
Here's my attempt at realizm... This one is "All about the Hat" ;)
And thats fantastic! Here is mine.. 1 HDRI and the light from the camera. Also.. subtle DoF / fog etc.