[Released] Advanced Collective Transform Tools (Commercial)
 V3Digitimes
Posts: 3,150
Available here : https://www.daz3d.com/advanced-collective-transform-tools
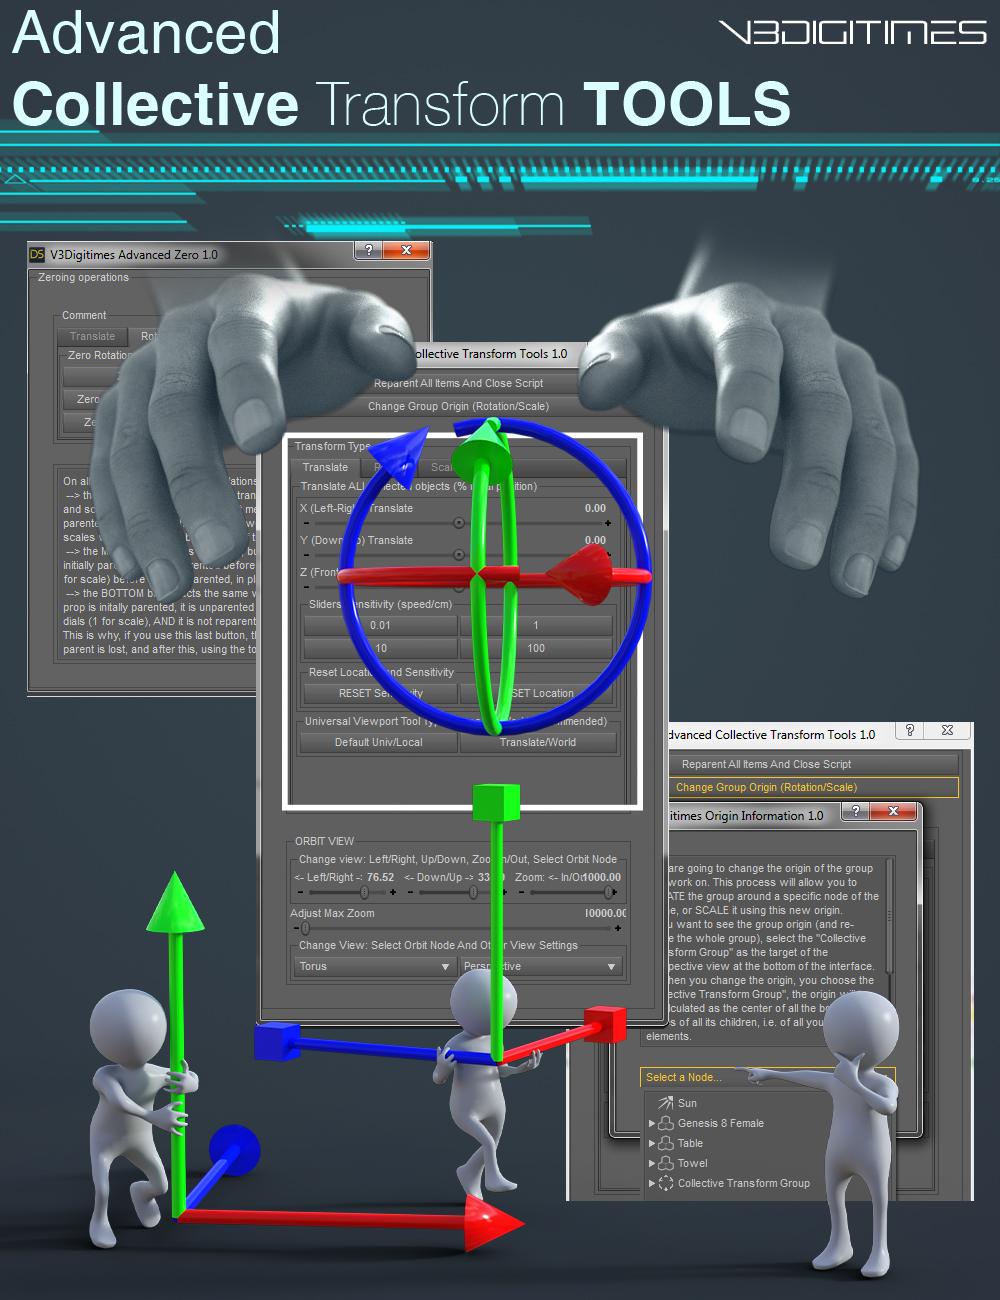
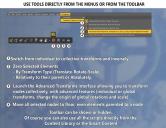
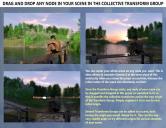
Advanced Collective Transform Tools was especially conceived to drastically improve your scene set up ease and efficiency. Extremely easy to use, all the tools are accessible either via smart content (content library) or via menu icons (which can be hidden), or via menu custom actions. This set of tools allow you to:
1. Transform (Translate/rotate/scale) simultaneously several objects in the scene using the usual viewport transform tools (universal, translate, rotate, scale tools). In order to be optimal for this, you simply have to use a menu icon to switch this possibility on/off (or you can use the on/off/switch scripts via the content library, or the custom actions).
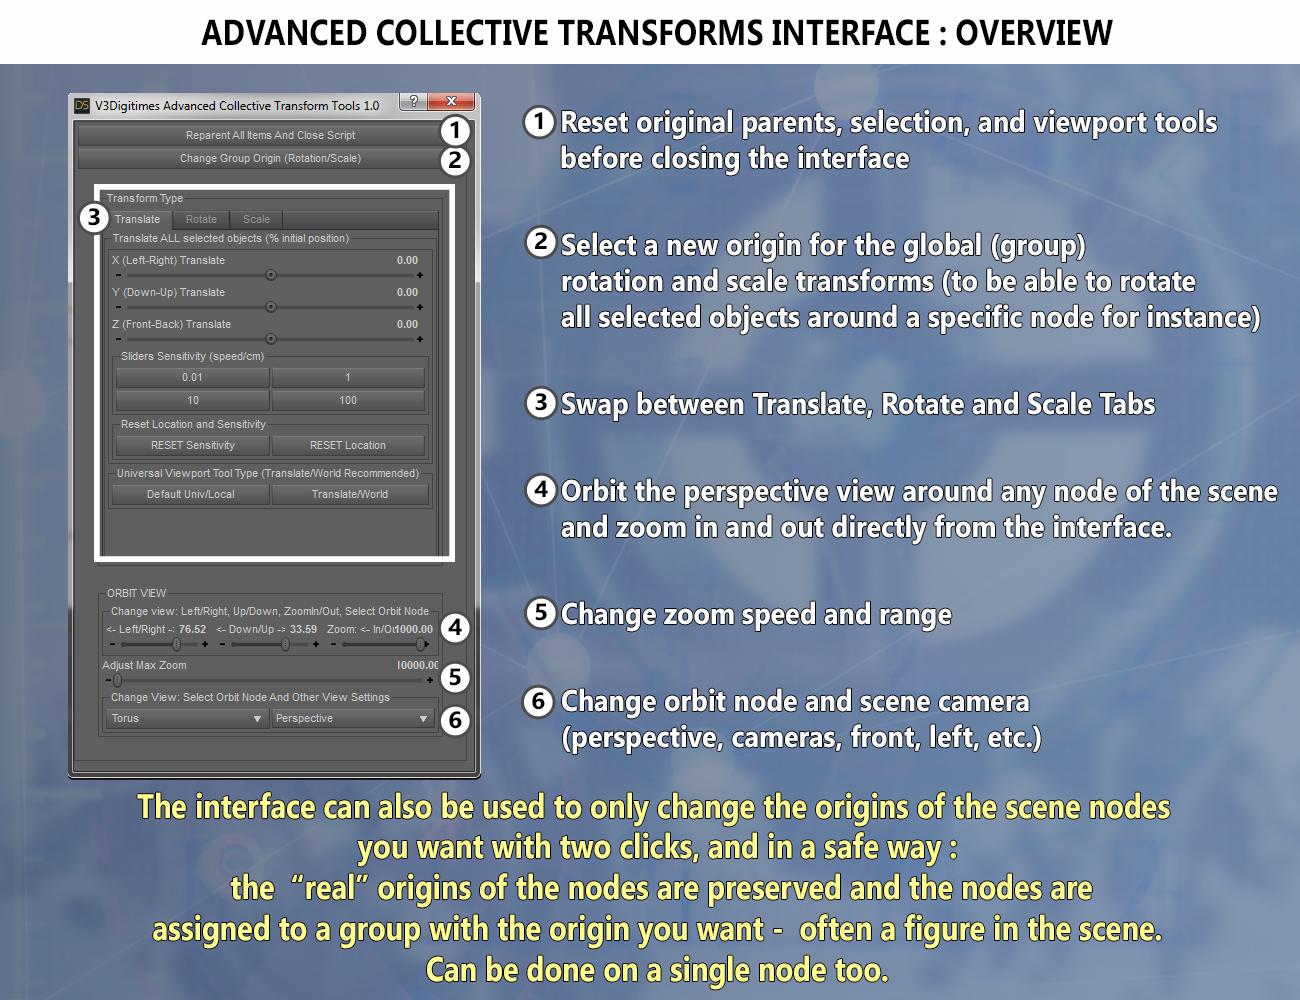
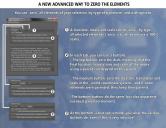
2. Use the advanced collective transform interface, allowing you to transform simultaneously all the selected elements too, but also to benefit both the use of dials as you would do in the Parameters pane, and advanced features for the transforms, such as:
- For translations, the possibility to change the sliders sensitivity, allowing you to go from very precise translations, to huge translations in the scene
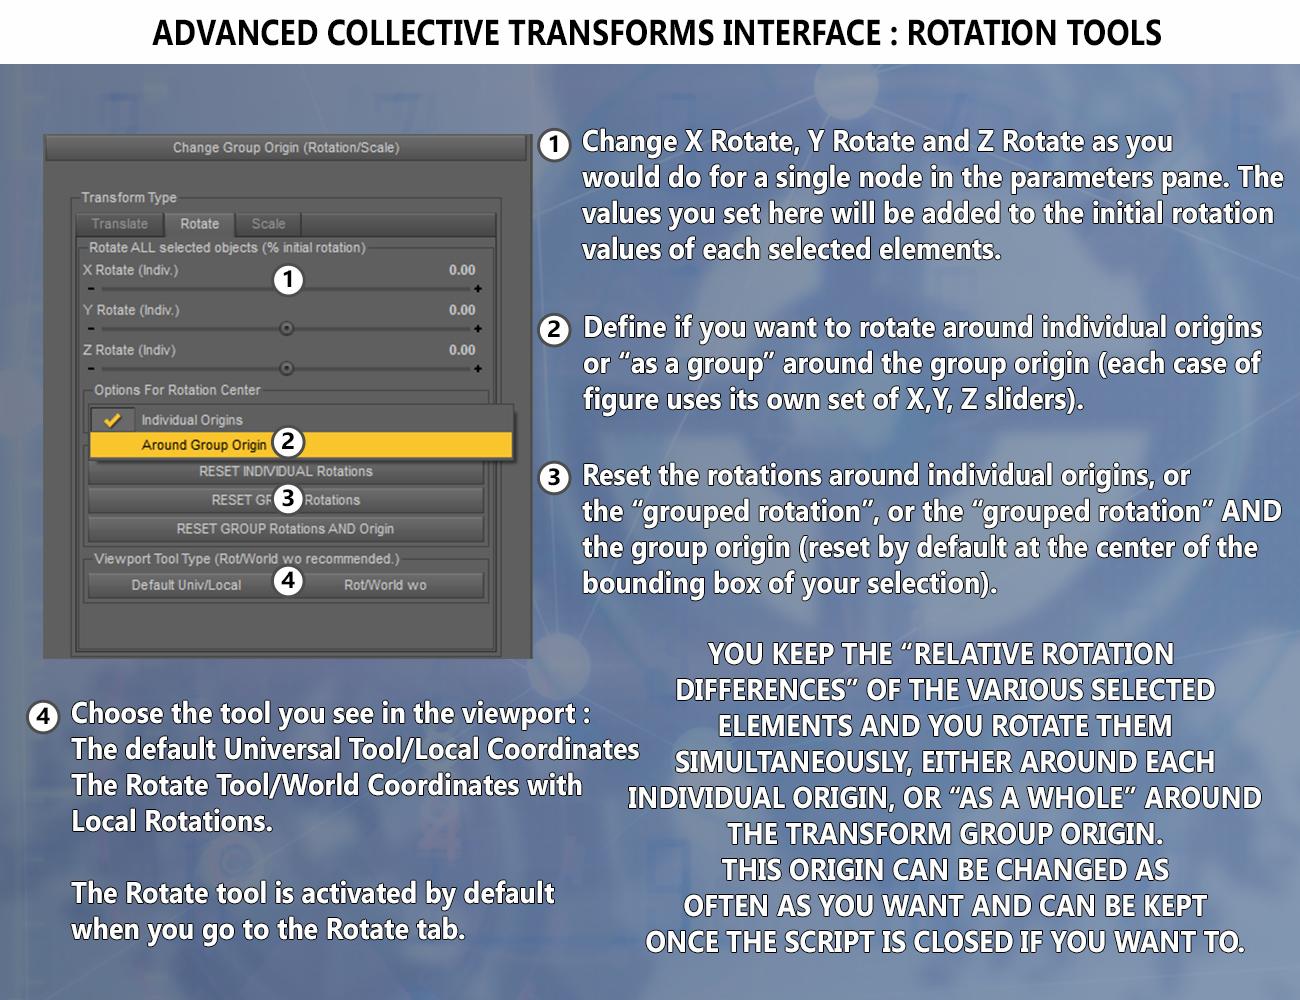
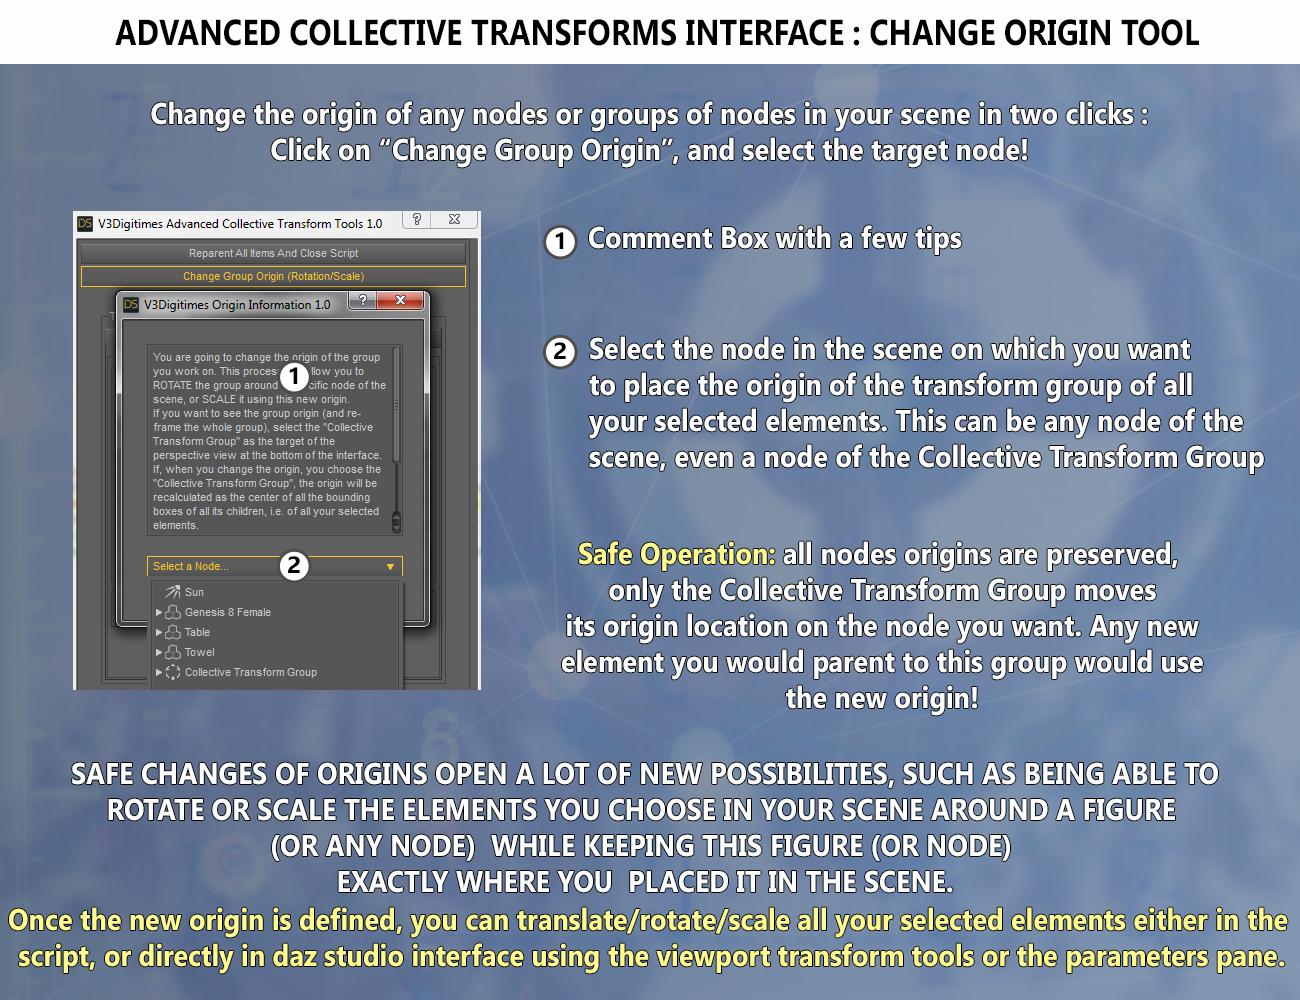
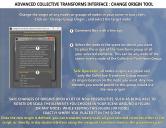
- For rotation and scale, the possibility to decide if the transforms (rotation/scale) apply relatively to individual origin (each element uses its own origin), or relatively to the median point of all the elements (the center of the bounding box of a group including all the selected elements, called the “collective transform group”), or around any node of the scene. (in the two last cases, selected elements behave as a group).
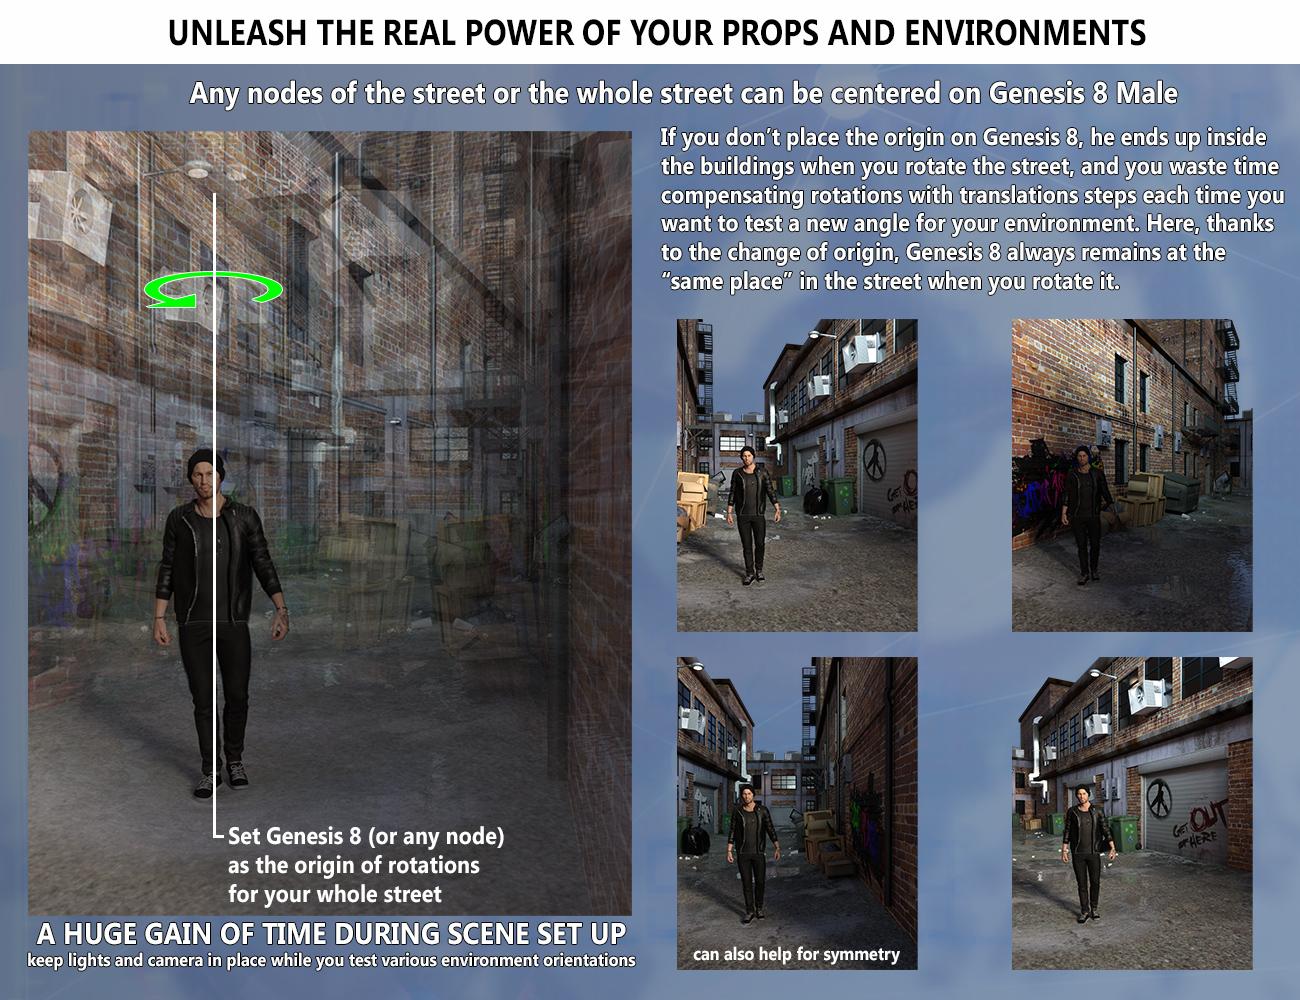
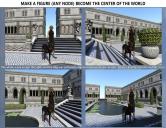
- This means for instance that you can choose a figure, a prop, or any node in your scene as the new origin of the group of selected elements, and the collective transform group including all your selected elements will then rotate or scale around this figure, making this element "virtually" becoming the center of a part or your whole scene (it is a kind of safe change of origin, since all the elements keep their origins, but behave as if they had a new origin). You can change the origin as often as you want during a same session, in three clicks (click on the button to change, selection of the origin element, and close choice popup).
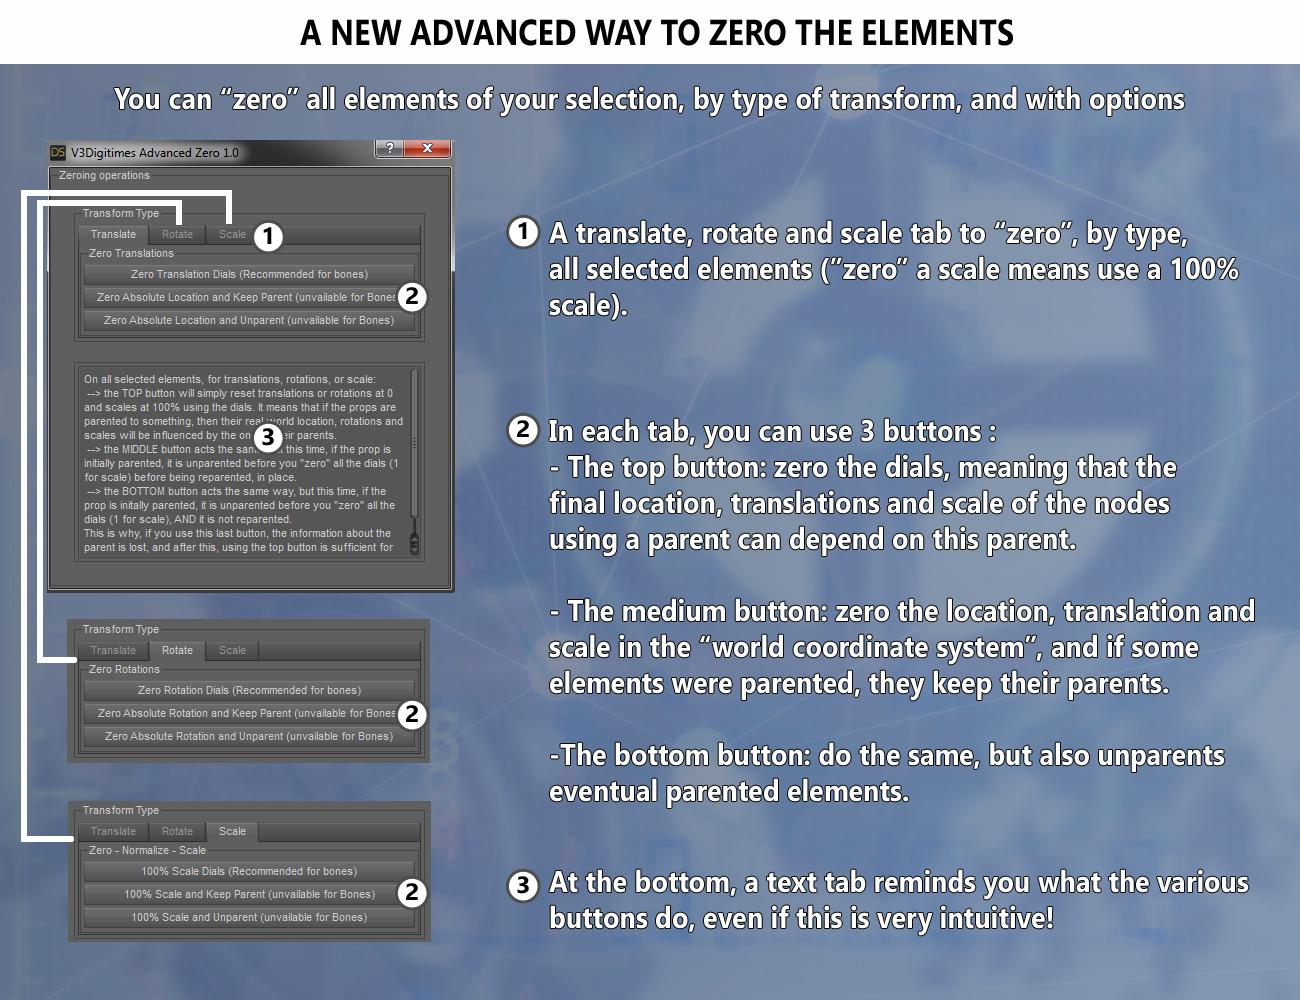
- The possibility to reset the initial translations, rotations or scale (around origins or as a group).
- View tools are always accessible at the bottom of the interface so that you can you can swap to different scene cameras and views, change the perspective view and/or its target node, with a control of the zoom level to adapt from very small to huge scenes.
- Even better, when you are done, you can decide if you keep the transform group (with the origin you defined) in the scene or not, and if you keep it, and of course, if you changed the origin, any element you would parent to it would benefit of the collective transform group behavior and origin.You can create as many transform groups as you want with as many origins as you want.
3. One script to collectively Move object to floor, including the objects which are parented to something.
4. Collectively Zero By Transform Type. Once script so that you can zero separately the translations, rotations or scale (100%) of all the selected nodes. You can even decide what happens if objects are parented: either you zero them relatively to their parent, or you zero them absolutely in the scene.
Not everything has been said, but the main features have been presented. Any questions, feel free to ask them here, or via MP!
ONE MORE INFO ON THE 09/05/2020. It seems (on my two computers) that the "daz connect installers" were not created properly. Please use DIM or manual install (not cloud at all install) until Daz solves this issue of Daz Connect installers. No worry, this regurarily happens with script products.












Comments
This looks pretty cool. I think a short video would really show off how useful this tool might be. Good luck with.
Yes of course, the video is here :
ROFL! You will gain so much time that you won't regret it!
Lol! Thanks so much! Keep cool, your new time saver is released today...
The video explained things very well. Thanks for that.
One issue I have is with scenes with GOTO poses. Currently, if I need to rotate a figure, it will rotate around the world origin. Can this tool help with that kind of situation?
Oh yeah, I think I understand. Yes, it should solve your issue. You probably have this issue because the hip is translated instead of the figure. In order to solve this, you select your figure, launch the advanced collective transform interface, and close it using the "cross".... (yes! just do this open and close). And then your figure is parented to a groupnode wich is centered on the figure itself. This way you can rotate the groupnode and the figure will rotate around this new origin (which is the middle of the bounding box of your figure).
It shoud be enough. If not, one more step between you open and close the interface, is to make a change of origin and select your figure as the new origin. But I think it will probably not be necessary, a simple open/close should be enough, I just tested it on a figure with a hip offset. I don't have your goto poses so I cannot be 100% sure, but on what I tested (figure rotating around scene origin instead of "around itself) it works.
Good to hear. Yeah, it is a hip rotation issue. I've gone and reset the hip, but then there are other issues that arise.
Yes in this case it should work. If you install it, please use DIM or manual. Something looks wrong about connect install, but I don't know if it comes from my computer or from the connect installer which has to be remade.
I wish they'd remove connect. Seems more trouble than it's worth now that storage has gotten inexpensive.
Yes it's not the first product having issue with the connect installer. Latest one was two weeks ago from me. It seems scripts products present more issue with connect installation... And a few weeks ago, for the same kind of connect issue, I had to reset my database and re-install most of my content, because of the database reset....
when I import terrains from world creator into daz they end up in the air way above the floor and impossible to get centered and on the floor. Even the xyz coordinates are zeroed out. Will this help me get my mesh terrain to the floor center in daz? Thanks.
No, your issue is related to your export/import. The origin change of Advanced Collective Transform Tools is "virtual", so basically you cannot use it to "really" change the origin of a node, which is what you are trying to do. In your case, you have to select your terrain mesh and then go in the joint editor, in order to move the origin of your mesh to its middle. Then you translate your mesh so that it is centered in the scene. Finally, when you save it (as a prop asset for instance), the new prop will now reload properly centered in the scene (as you saved it). What my scripts can do is for scene set up, with your terrain for instance, is that if you place a figure on the top of a mountain, and you rotate the terrain, then the figure remains at the top of this mountain even if this mountain is absolutely not centered in the scene/terrain, because you "virtually" set the origin of your terrain on the figure (but the real origin remains where you placed it relatively to the terrain).
Thank you.
Here's what I would like to do: load a scene, place the figures (which will be way off-center), and then I want the figures to be at 0,0,0 while staying in their current scene location (by moving every single element of the entire scene). Will this help me accomplish this with just a few clicks?
Yes it would help. edit: what I would do would be to place a primitive at 0,0,0 to identify the location (not required if you "show axis by default), and once the figures are placed in your scene, I would select in the scene all the nodes you want to move with the figures in the scene tab (parent nodes, don't to go down to hierarchy, and select of course the figures too) and activate the viewport multi transform (which is always activated now for me). The best is that the last you select in your scene is the figure you want to place on the zero, this way you have the universal transform tool centered on it, and you "drag" using the universal tool or the translate tool all the selected elements where you want, all together, until your figure is on the 0.
There are other ways to do it: once the figure is placed, select all the elements you want to move with the figure and open and close the interface script. In the scene tab, select the new "collective transform group" and parent it to the figure. Now select the figure and use the zero by transform type script to zero its translation (use the first button of the translation tab). The whole "selected" environment will follow and the figure will be placed at 0.
You're welcome!
Looks like another nice tool to have.
Does it have possibility to click anywhere in the scene and put the item from the contents library in such position?
The another feature I am looking after is to click anywhere in the view and get possibility to put the object on the other object,
where the projection from current view and the selected object in the scene intersects.
Hi, no it does not have this possibilty. Actually I think that when you click in a scene, if there is nothing (no node), I think that Daz Studio does not catch the coordinates of the clicked point. I may be wrong, but I don't see DS doing this because it could not know "how deep" you target in the viewport when you click in it, so it would not make sense to grab the coordinates. But as I told you I may be wrong, and I can have a look.
For the second question, such projections should be possible to be calculated using the camera angle and the object bounding boxes, but this does not seem simple.
Thanks a lot for the answers.
Just one more:
Do you think, if it would be possible to have functionality in Daz Studio to drop objects and instances of them on another objects,
preferably using gravity?
Yes I think this is be possible. That's not far from what I did in "Medina Cityscape Generator"... Well that's what I did I think.... It was to drop the human figures on the terrain (there is a dedicated script for that in the product). These figures are instances too for most of them. And by the way, you're welcome. Interesting questions can lead to product ideas.
Thanks a lot, again, for the answers.
I have many of such tools available in Unity, so another dream would be to have utility
to transfer positions of objects and its instances from Unity to Daz Studio.
I can quite easily transfer Collada or OBJ from Unity to Daz Studio,
but have not succeded to keep instances in Daz Studio - they just become normal objects.
Arg I don't know unity, so I won't be able to help you.. But I have the same problem with Blender, and I have ideas on how to solve this on Blender (just have to learn a bit more of python).
It will be awesome, if you could make some tools for Blender.
Yes it would. For now I only made one simple python script allowing to export all objects separately of a Blender Scene (all modifiers applied, but particles are not applied) so that I drag and drop them all in Daz Studio, how lazy I can be sometimes!. But I hope that one day I will have the time - and knowledge - to do do something for objects related to particle physics, that would be great.
Was there a script for this once? Mcjcollider, or something like that?
I don't know. I just remember it was a real struggle on my side to develop this functionality for medina cityscape generator, it was really not obvious! Maybe some scripts as the one you mention do the same, (maybe faster than mine which I found a bit slow anyway).
Here's what I would like to do: load a scene, place the figures (which will be way off-center), and then I want the figures to be at 0,0,0 while staying in their current scene location (by moving every single element of the entire scene). Will this help me accomplish this with just a few clicks?
I don't understand the answer to this question.
What I do now, is ...
a) Make a new goup of EVERYTHING except the Main character (the one I want at 0,0,0)
b) Parent that Everything-Group to the main character.
c) Move main character to zero by changing the transform sliders all to zero (the X red, Y green and Z blue translation tools)
The entire scene moves relative to the character and the scene arrangement is preserved.
d) Unparent the Everything-Group so it doesn't move when I move/pose the maiin character.
This elimintaes the Iray issue with characters being moved too far from the zero origin and getting weird marks on their faces, necks and their eyes turning black.
-----------------
I have confused two different features that I thought would accomplish this.
After reading the PDF and watching the video, I see that I misunderstood the fature set.
ATI asked this question directly.
Does this accomplish that goal in less steps?
In other words, the downside to the way I've been doing it- is you need to unparent a bunch of things after - as many characters and objects are lost down in the parented tree.
That does make finding things tough.
I was hoping for an ALIGN type of tool/script - where I could pick an object (or character) and this would ZERO that figure AND move everything else around it.
That's what I thought when you had the section about "zeroing a figure" or "creating a new origin/Zero point"
What do you think?
A future feature or am I off in my thinking?
You can do it in less steps, and without parenting/unparenting. Select all, and translate all together using the viewport transform tools to the 0 of the scene (for the figure).
You can select everything in the scene tab, and it is better if your figure is the last element selected (so that the transform tool "for all" is placed on this figure, in brief, select everything then your figure). You activate the multi-transform in the viewport (V3DCTT Activate Viewport Multi Transforms), and you translate the whole scene directly in the viewport using the translate tool (or the translate handles of the universal tool), until the figure is near/at 0. If you want to place in roughly near 0, and you just have to '"show center axis" in the viewport, and translate the figure to this center axis (all the scene elements will follow it, even if they are not parented). If you want, in the parameters tab, you can select you figure, and you will be able to see its translations values while you move it with the universal (or translate) tool in the viewport (but don't use the parameters pane dials to move the figure or only this figure woud move), and you can stop when you consider the figure is close enough for you to 0.
Edit: when I say you select all (in the scene tab), and you have some parents and some children in the scene tab, you only have to select the parent nodes.
Edit 2: There is a second method, that you could maybe prefer, not tested but should work. Remember (remember, screenshot or write down), the X and Z coordinates of your figure (unparented figure) which can be found in the parameters pane. Use the interface script (the one with the thumb with dials) with absolutely everything selected in the scene, and in the translation tab of the interface (the first tab), enter in X and Z (and Y if there are big height variations), the opposite of the coordinates you remembered. Close using the button "reparent and close" at the top of the interface. Everything will have moved the "same way", your initial nodes hierarchy will be restored, and your figure will be in the middle of your scene.