Post Your Renders like it's the year 2020!!!
This discussion has been closed.
Daz 3D is part of 
Connect
DAZ Productions, Inc.
7533 S Center View Ct #4664
West Jordan, UT 84084
Licensing Agreement | Terms of Service | Privacy Policy | EULA
© 2024 Daz Productions Inc. All Rights Reserved.
Comments
Hadn't thought of that. I'll do that now... thanks
Nice! It's a fine render. I like it!
May I add some advice? Cool! Thanks!
To me, this gives the appearance the the ceiling above her is all florescent light panels.
Where I live, I prefer softer lighting, which often comes from a direction or two, rather than being so even throughout the whole space.
This is why my "Cheating" methods are so easy. I:
Please DO NOT take on these methods just because I'm describing them. Use your own heart and make your art yours.
Just because I threw in my two cents certainly does not mean that I don't enjoy the image, because I do. It looks great!
I just wanted to mention this because one of the hardest things for me was lighting - but I didn't realize it. I wanted to make sure that Everything was well lit - so that's what I did. Studying other things, I happened upon a video by someone (can't remember... if I think of it, I'll link it) that made a lot of sense. Don't use too many colors (only three main colors) and make the lighting dramatic. People like things that look dramatic. And we want to make pictures that people like - that's why we're here - sort of stuff. It did take a while for his advice to sink in for me. But now when I look at my older pictures... I completely realize that my ways have certainly changed for the better.
But that's me. After all that I really want to add that I really like your renders! So please don't take these words the wrong way!
Yeah... Do that!!! Up to three entries... might win some yummy bling too!
I've seen three point lighting mentioned a lot when it comes to lighting, but I don't see how it can be done in an interior setting?
By pop light, do you mean a rim light behind the figure to make it standout from the background?
Actually, my Pop lights are a three-point rig "linked" to the individual characters.
"linked", being that they are set to Only affect the one character. Rosie has extra ones that only affect her hair, and the counter-parts of those exclude her hair and then one more less intense one that catches both her and her hair in one of the positions (Key light)
EDIT:
So each character is saved to the browser with their own Pop lighting rig. I call it a highlight rig. They're all set at values that work well with most of my saved scenes, which is what most of my gallery is made of - test renders of their highlight rigs along with the scene lighting.
When you say linked is that with "Point at" or dropped onto the characters hierarchy? Just gave it a try. I never thought to drop it on the characters Hierarchy, means it moves with the character and using point as well means it will always light them properly...... nice.
You can exclude and include objects from lights in Carrara. Other programs call it light linking. Note that it doesn't workn on a rig, so you can't choose the forearm bone in a V4 or Genesis 2 for instance, and only light the forearm. It is the whole model. In Dart's case, he uses inclusion and exclusion on his lights, but he also has the lights in a group with the figure and their clothes and props, and saves the whole thing to the Object Browser. When he needs that character again, he just loads it from the Browser, ready to go.
A WIP image that I was making for a gag gift for a friend. I use GI, SSS, and lots of dynamic hair on the clothes.
After seeing your setup in the challenge thread, I saw some recommendations I could suggest - just to try and compare. I don't claim to be good at this... but I do like to share what I try and like doing. Yeah... that's a cool lighting setup you have. That's a nice scene for that... and bulbs (IMHO) were a fine choice!
So what my highlight rigs would do is to add a Rim, Key and Fill light to each character in the scene, and the rigs are in a Group along with the character. So I can keep all of the highlight rigs at the same, or similar orientations, even if the characters are rotated and moved around. It all works really well. I have the lights parented to a Target Helper Object, making it easy to move the rigs to where they're most effective - just place the THO just in front of the nose of the character.
Then I might feel the need to alter the color of the Fill and/or Key lights - sometimes even change their brightness or whatever... but it's always really easy to work with... I love its simplicity - and leaves me more free to illuminate the scenes separately for how I want then to look artistically as opposed to realistically ;)
So like, in this one, I don't use any actual lights for all of those individual wall, floor, panel, etc., lights are - just give them glow and aura to simulate the effect that they're casting light. It's the rig on the character that makes it look like they actually cast light. Easy-Peasy!
I used to drop lights in the hierarchy, but not anymore. Really sucks for animations and certain poses - though it's easy to fix for stills.
I drop them in a target helper object, and that gives me full control of placement of the rig.
Linking means that it Only casts light on what it is linked to. So I check Only and select the group that contains the character, clothing, props... everything in that character group - exception being mentioned above for Rosie
I can see I haven't scratched the surface of what's possible yet. I've learnt a lot though from what you've said though. I'll practise setting the lights up over the next couple of days.
You're doing a great job on your own, my friend! I just enjoy sharing some extra food for thought is all ;)
Many CG professionals in the film industry have to look beyond reality all the time because real can look really boring on screen - or so they say.
Dart, you share brilliant ideas and advices. I agree with everything.
When I struggled with interior lighting, one of the first times, trying to light the figure, I put a single bulb just near the character's cheek where I wanted my person's face to be accented, and at last I had got the desired result. From that moment I use individual hierarchy group for each person in my scene.
BTW, following your advice I work individually on each part of scene and each character in separate file also saving them separately. This method really helps to achieve desired goal. Thank you for the help.
I am honored to be of help! I really am! Thanks Vyusur!
Wow... just before going to bed last night I finished making a SciFi city scene completely surrounding everything and made a Spherical Camera render at 8,000 x 4,000 and let it render over night. It was done much faster than I thought it would be.
It turned out really cool... really different. I wanted to be able to look down and see city below me and look out and see vastness of cityscape. I nailed it! But even more, I rendered it with global brightness turned down low with no gamma correction. Now in the background - with Gamma Correction set at 2.2 I get a nice daytime urban background and with GC off its lights glow in the dark urban fog. Looks cool looking down and around... sweet!
Sorry that I'm not showing a render with it yet. Perhaps later. Busy day!
Okay, this is what it looks like with one of my regular cameras. This is an empty scene with the new spherical render I was talking about above in the background.
With the spherical camera being up higher, we can now see further over the city, which is exactly what I wanted for some scenes using vehicles that fly or otherwise cruise above the ground, as well as for surrounding elements that are high in the air, like, perhaps, the Core or other platforms and such.
It's kind of a bummer to show it like this, though. When I can I should really shoot a video of me rotating the camera around and shooting quick renders in the assembly room. It's cool how this thing really looks great from all angles!
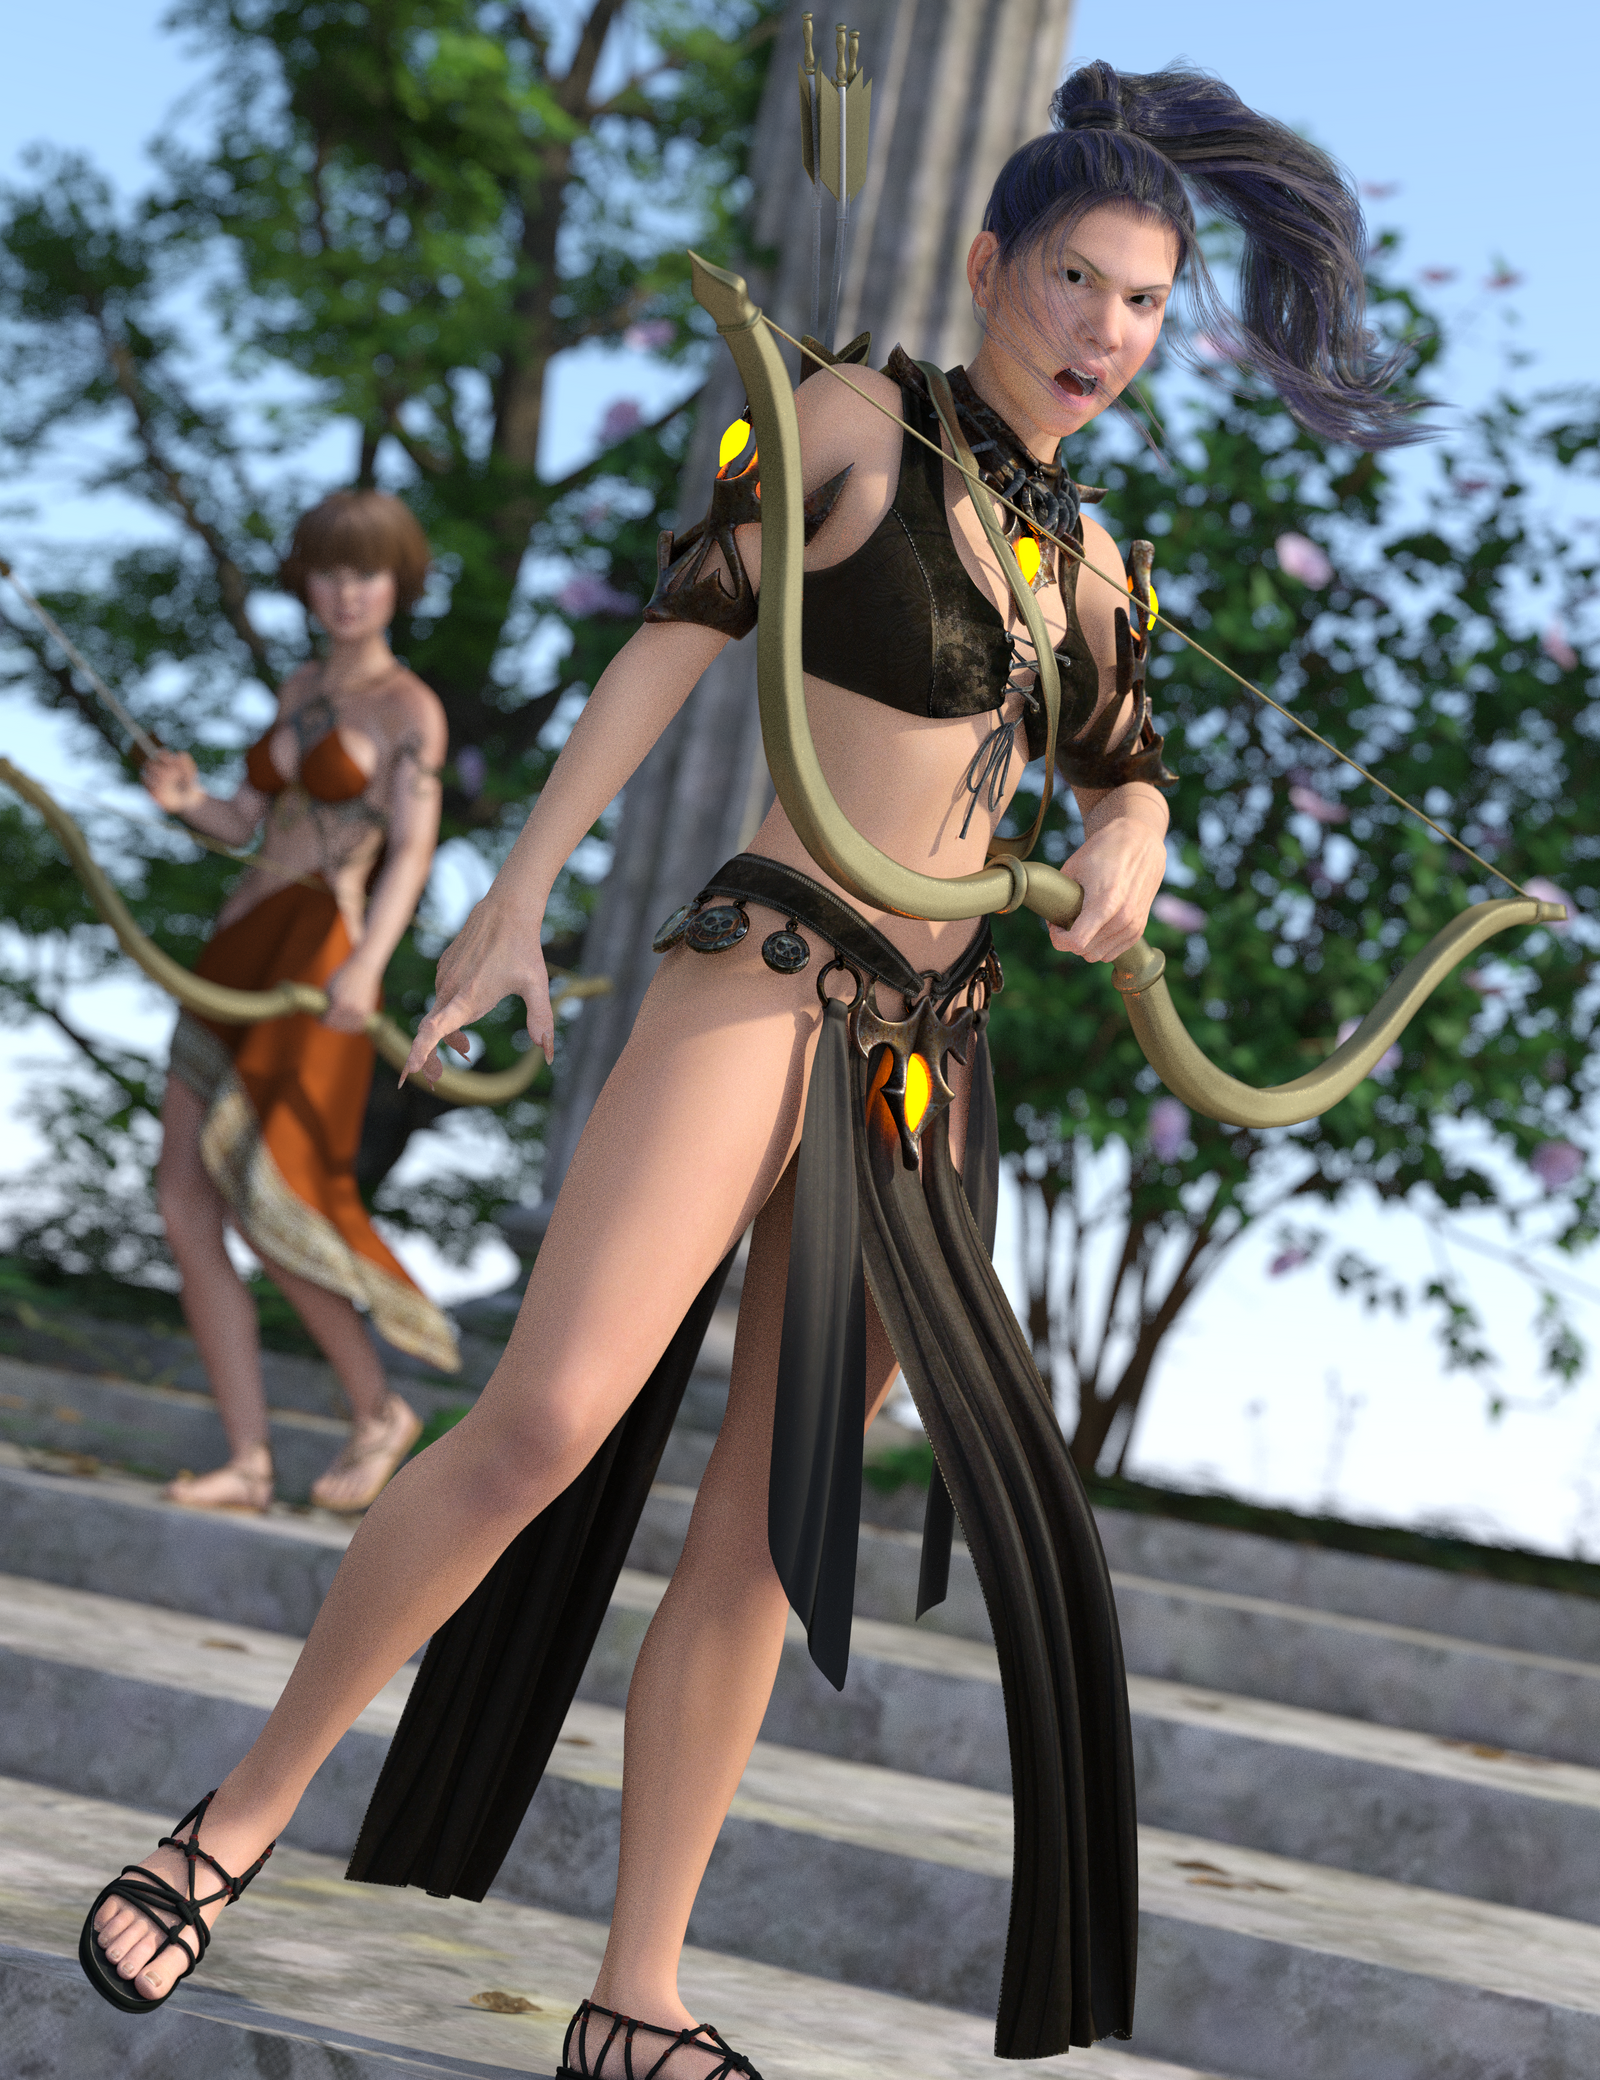
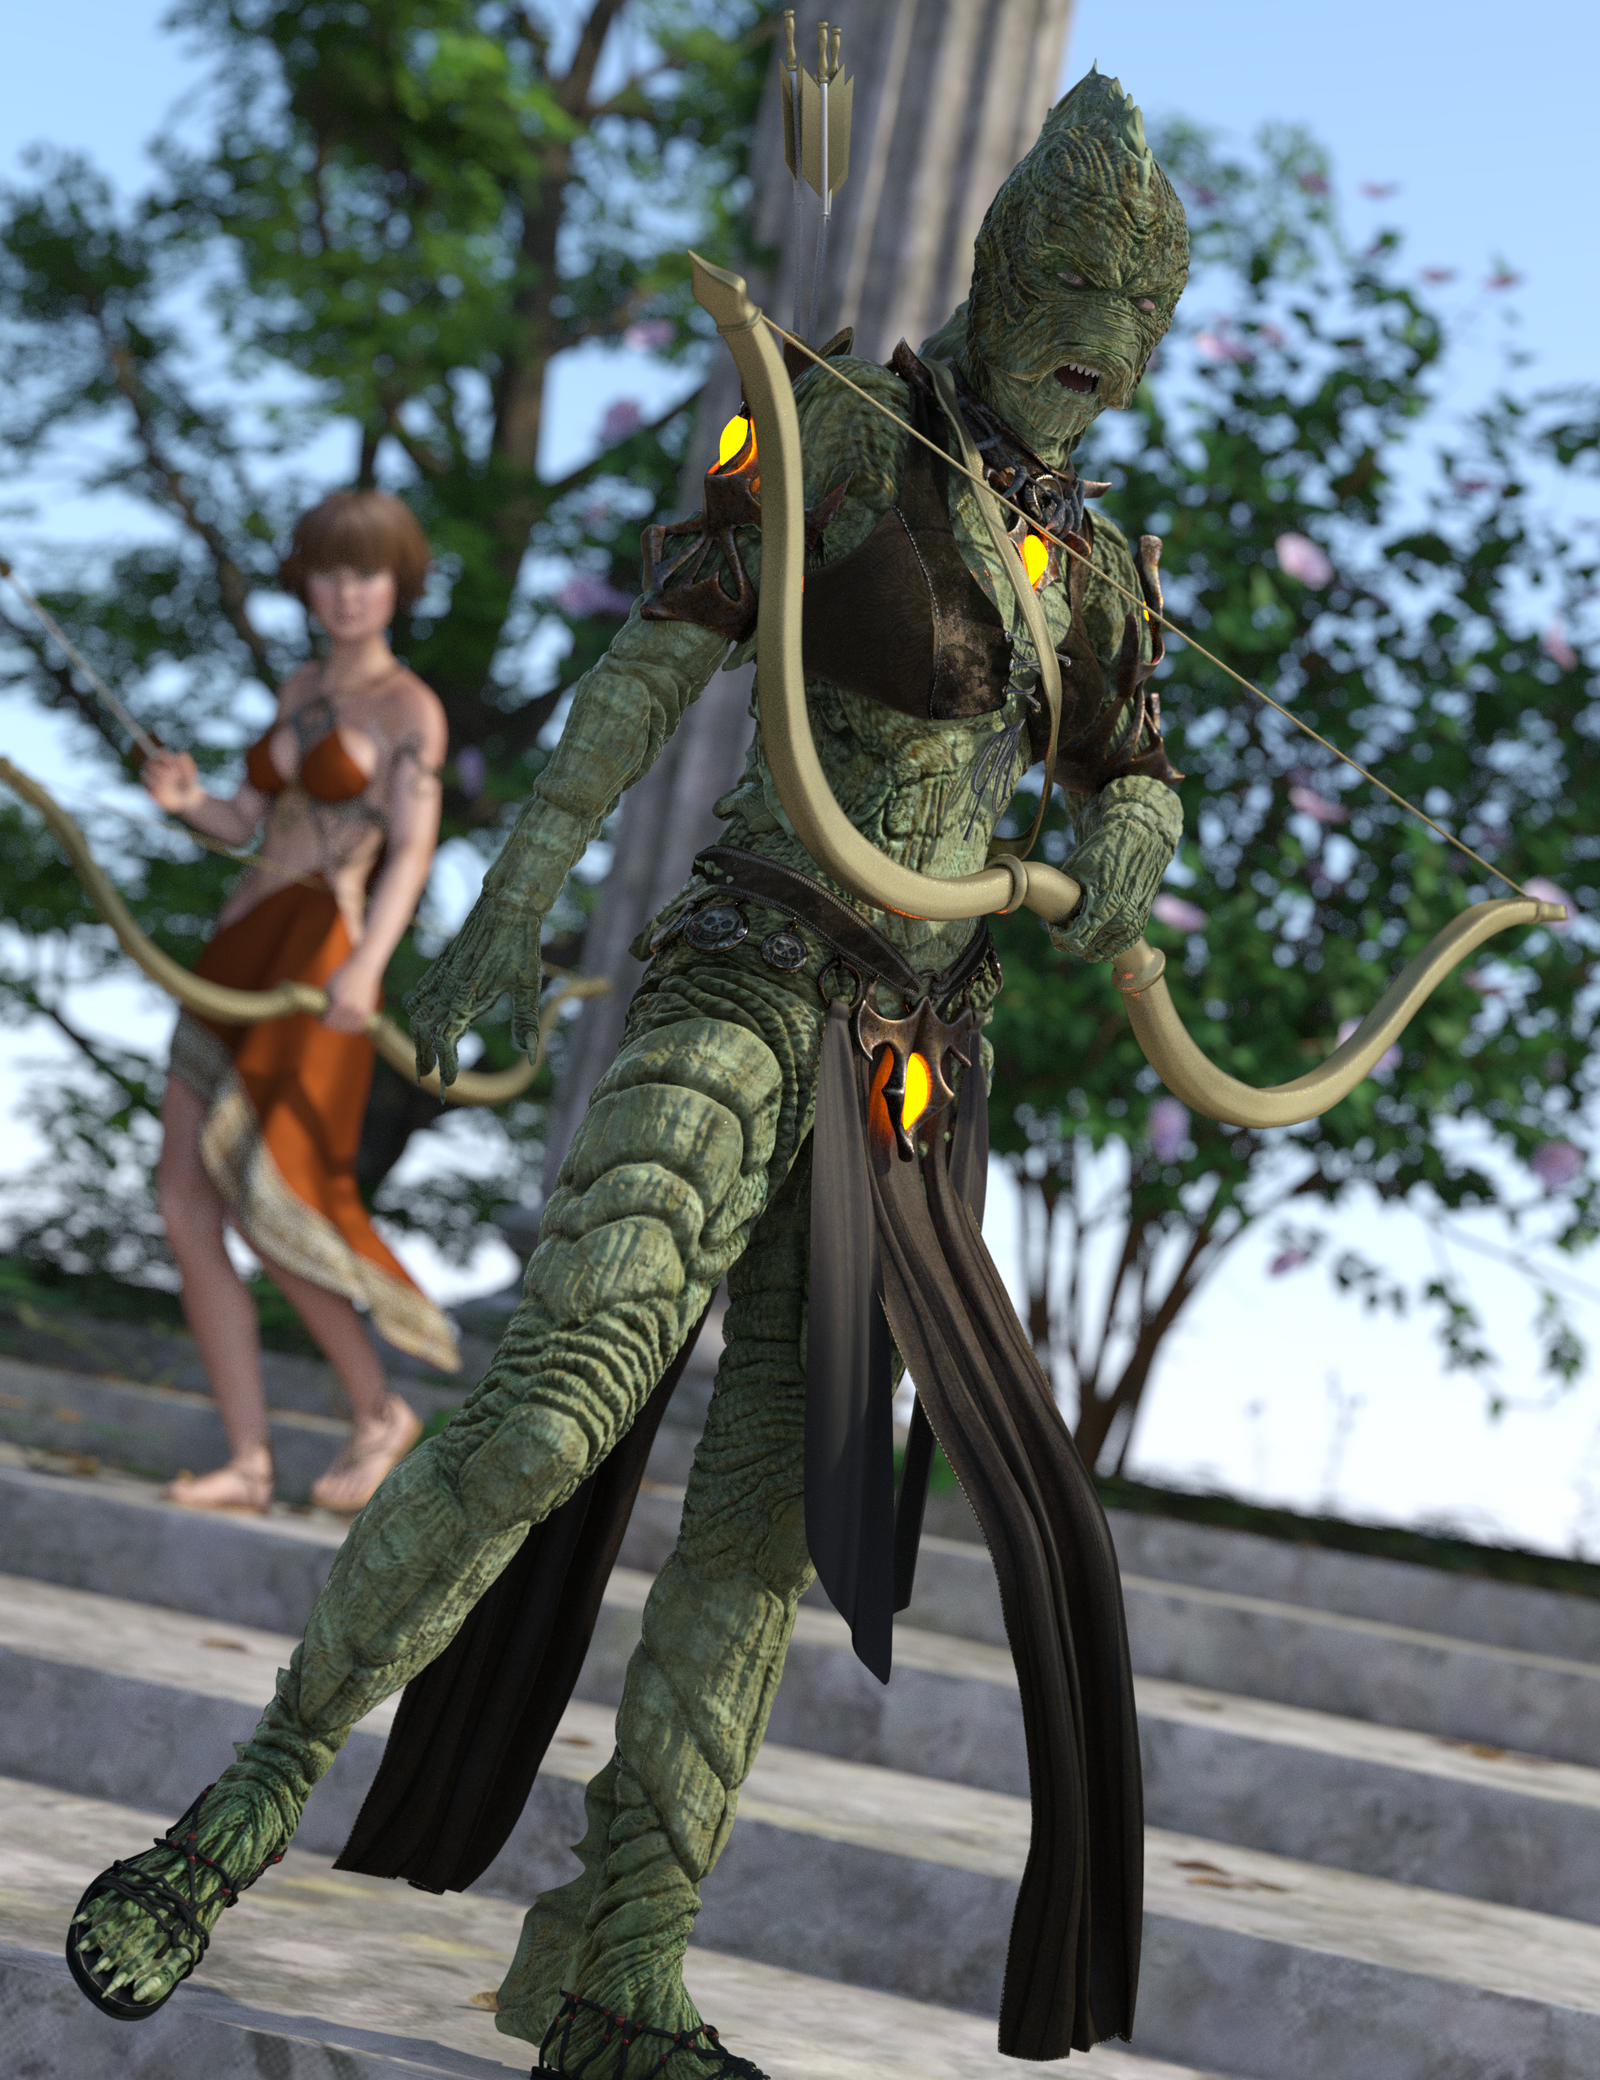
Space Relic (for The Core) x2, Rosie 6 (Mystic Sorceress version) and the Deep Space Heavy Cruiser by Phillip Drawbridge in my new spherical background - this one rendered without Gamma Correction, but color graded in Howler
Since the entire backdrop is taken care of by the background map, Rosie's Highlight rig was enough to light the whole scene, with a few simple tweaks.
Dart, stunning renders! Glad to see new works and new character.
Spherical camera render of Howie's Harpsberg. Click the link to see it in an interactive 3D viewer: http://www.2vr.in/V-U5O
I'm using it in a scene background to make a nice "outside the window" view :)
Thanks! Now that I look again, you know, I suppose I could have at least posed her, eh? That's the default pose I've given her in my save. Oh well... it's a good "ready-to-Rock" pose! LOL
Fun? Be careful... gets addicting! LOL
I've been focused on promo renders lately and those take so much setup I usually try to produce at least one variations of each.
I love the clarity and quality, but not a fan of whatever blur style was used on the DoF. Such a gorgeous render, but then the DoF is a bit too intense and there's something strange about the effect too. But that might just be me.
A Carrara 8.5 Pro Storyboard Image - preferring natural atmosphere over DoF out-of-focus
@Dartanbeck You have some really great background renders in here. I am seriously considering switching to Carrara for my matte paintings while continuing to do animation in poser. I have done some volumetrics in poser but they seem to render quite nicely here.
Thank you for the Kind Words!
This one just uses a simple volumetric cloud scaled down and placed directly over everyone. Increased the opacity, messed with the settings quickly... I really enjoy Carrara!
I cme from Poser and really liked the methods in Poser for storing motion data to the library - animated poses and expressions and such. But aside from that, I like Carrara so much better that I haven't updated Poser since version 7. In Carrara, just about everything has a simple way to animate it. We can even use videos for textures. Lights are so much easier to work with.
I do really like Poser though. If I'd have not found this wonderful thing called Carrara, I'd still be using Poser.
Have I mentioned how much I like your cel shaded renders?
Well I really like your cel shaded renders!
Carrara is very well equipped for animation, I do a lot of it.
Skin shader test
Carrara procedural shader, baked out as textures.
Nice job! Did you tweak the maps after baking or is this what the procedurals looked like?
I won't tell you how long this took to render but it has six particle systems with water shaders with refraction and reflection, so you can probably take a guess. :)
Nice!